Preparing the pairing
Overview
This document will tell you what you must do on the WebApp side to prepare the pairing
It mainly consists in :
- Creating a Site,
- Creating a Building,
- Creating a Zone,
- Retrieve Setup Instructions file,
- Contact your IT team to get local network information.
Then you'll be able to power on your FLOWBOX and configure it.
Requirements
- A customer must have been created on app.predictiveflowbox.com.
- You must have an account with the role "Customer Manager" on app.predictiveflowbox.com.
First FLOWBOX pairing (Wizard).
Video tutorial
You can follow the process by watching the following video:
Wizard
If this is the first FLOWBOX you install, a wizard will help you to create the expected Site, Building, Zone.
Once you authenticate on the WebApp, a modal window will suggest you to use the Wizard for your first FLOWBOX deployment.

If you click on "Yes", wizard will start. It consists in three (3) steps, the first being the site creation:
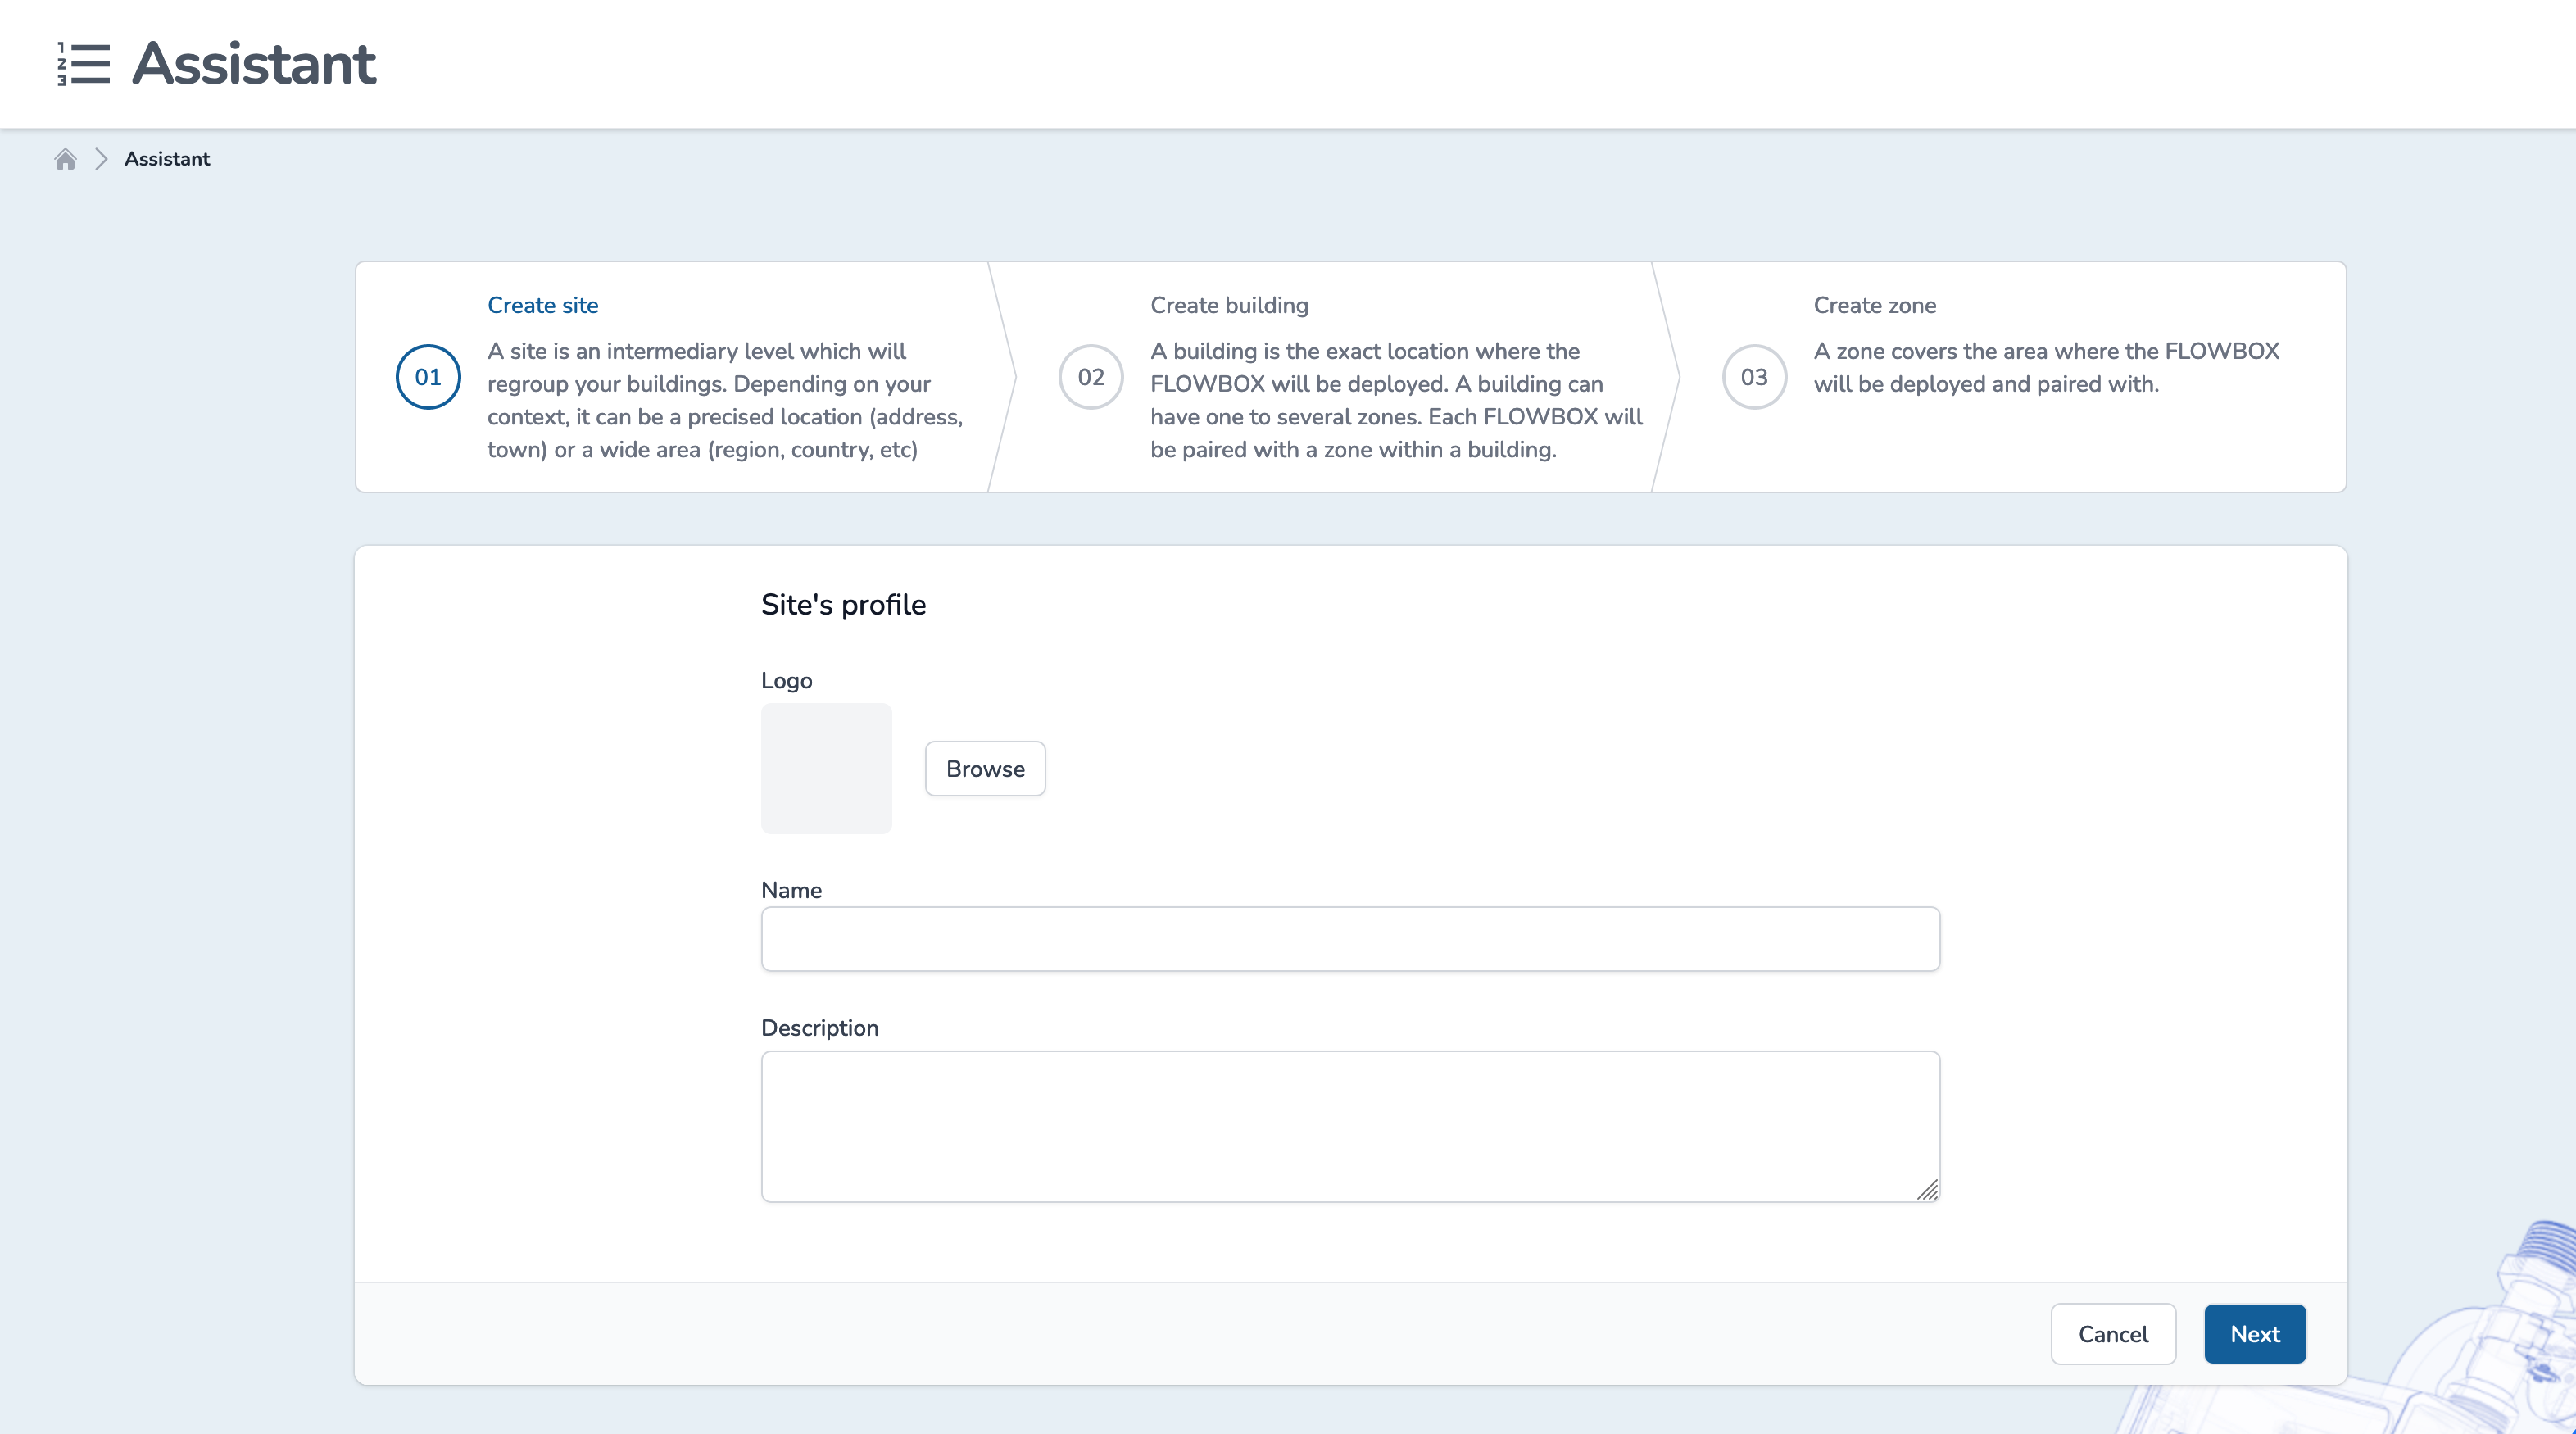
Once the form is filled, then click on "Next".
Keep calm
You can go back and forth between the steps if you feel the need to change a value.
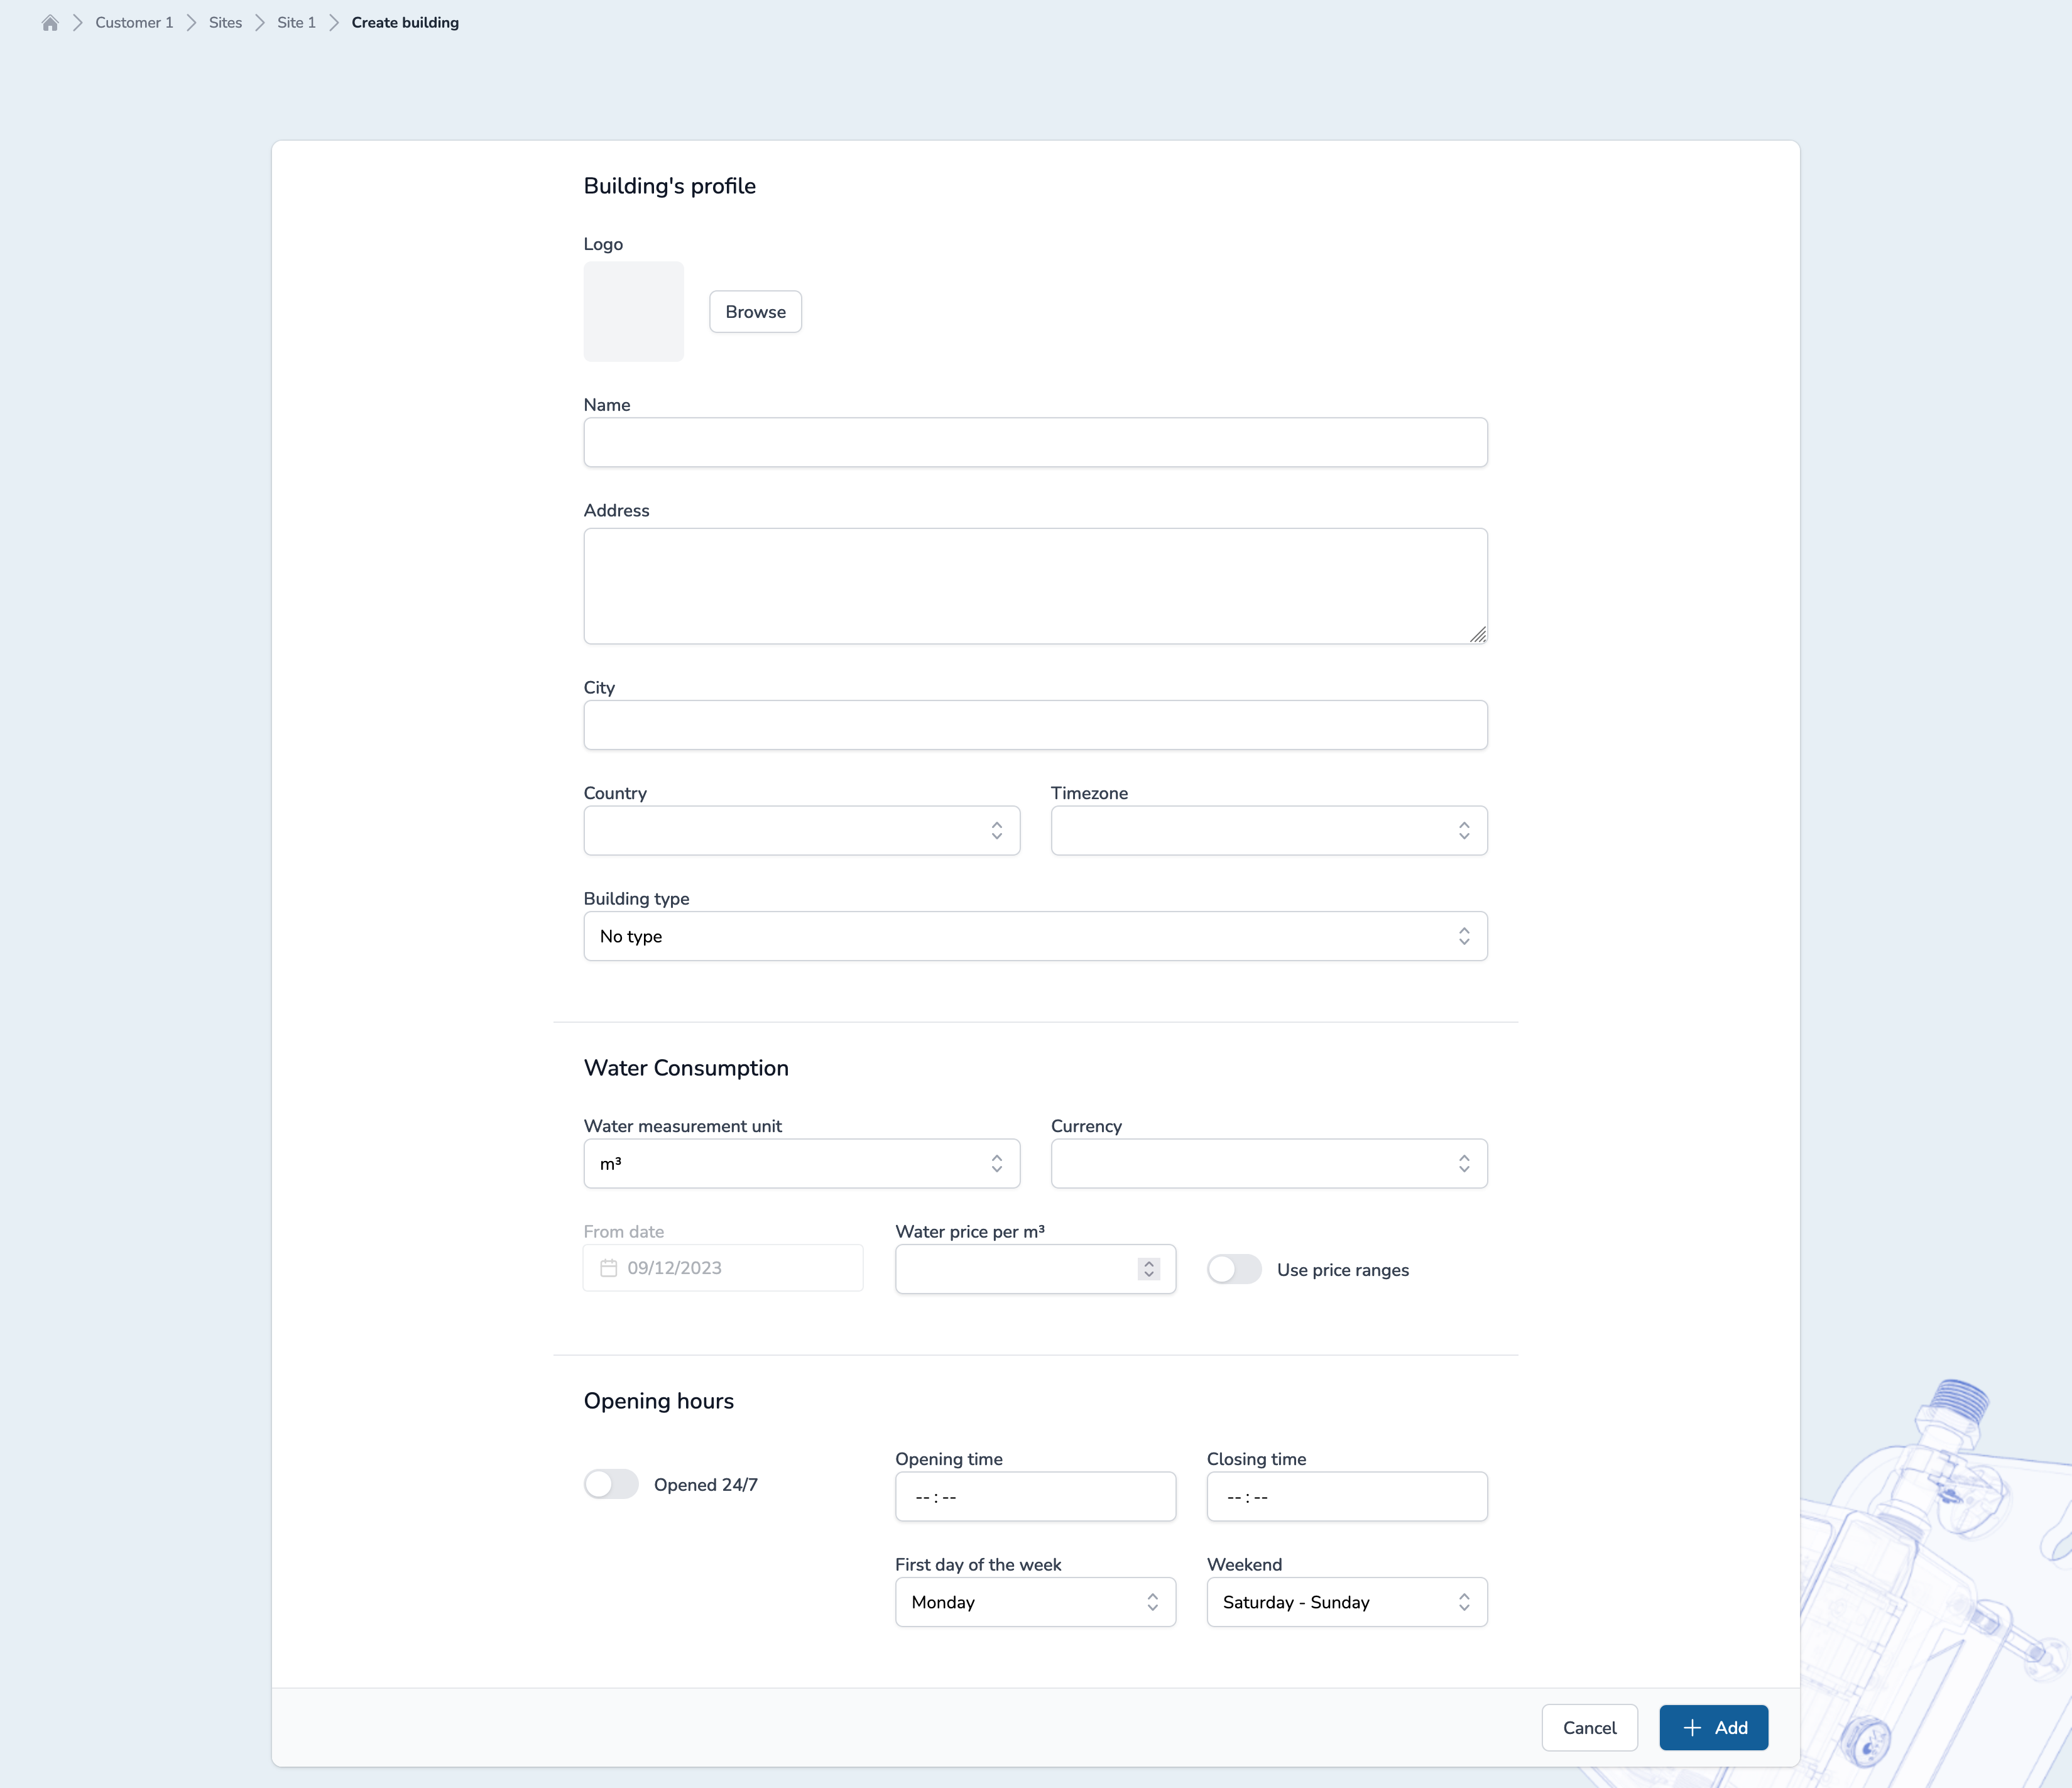
You can now fill the building creation form:
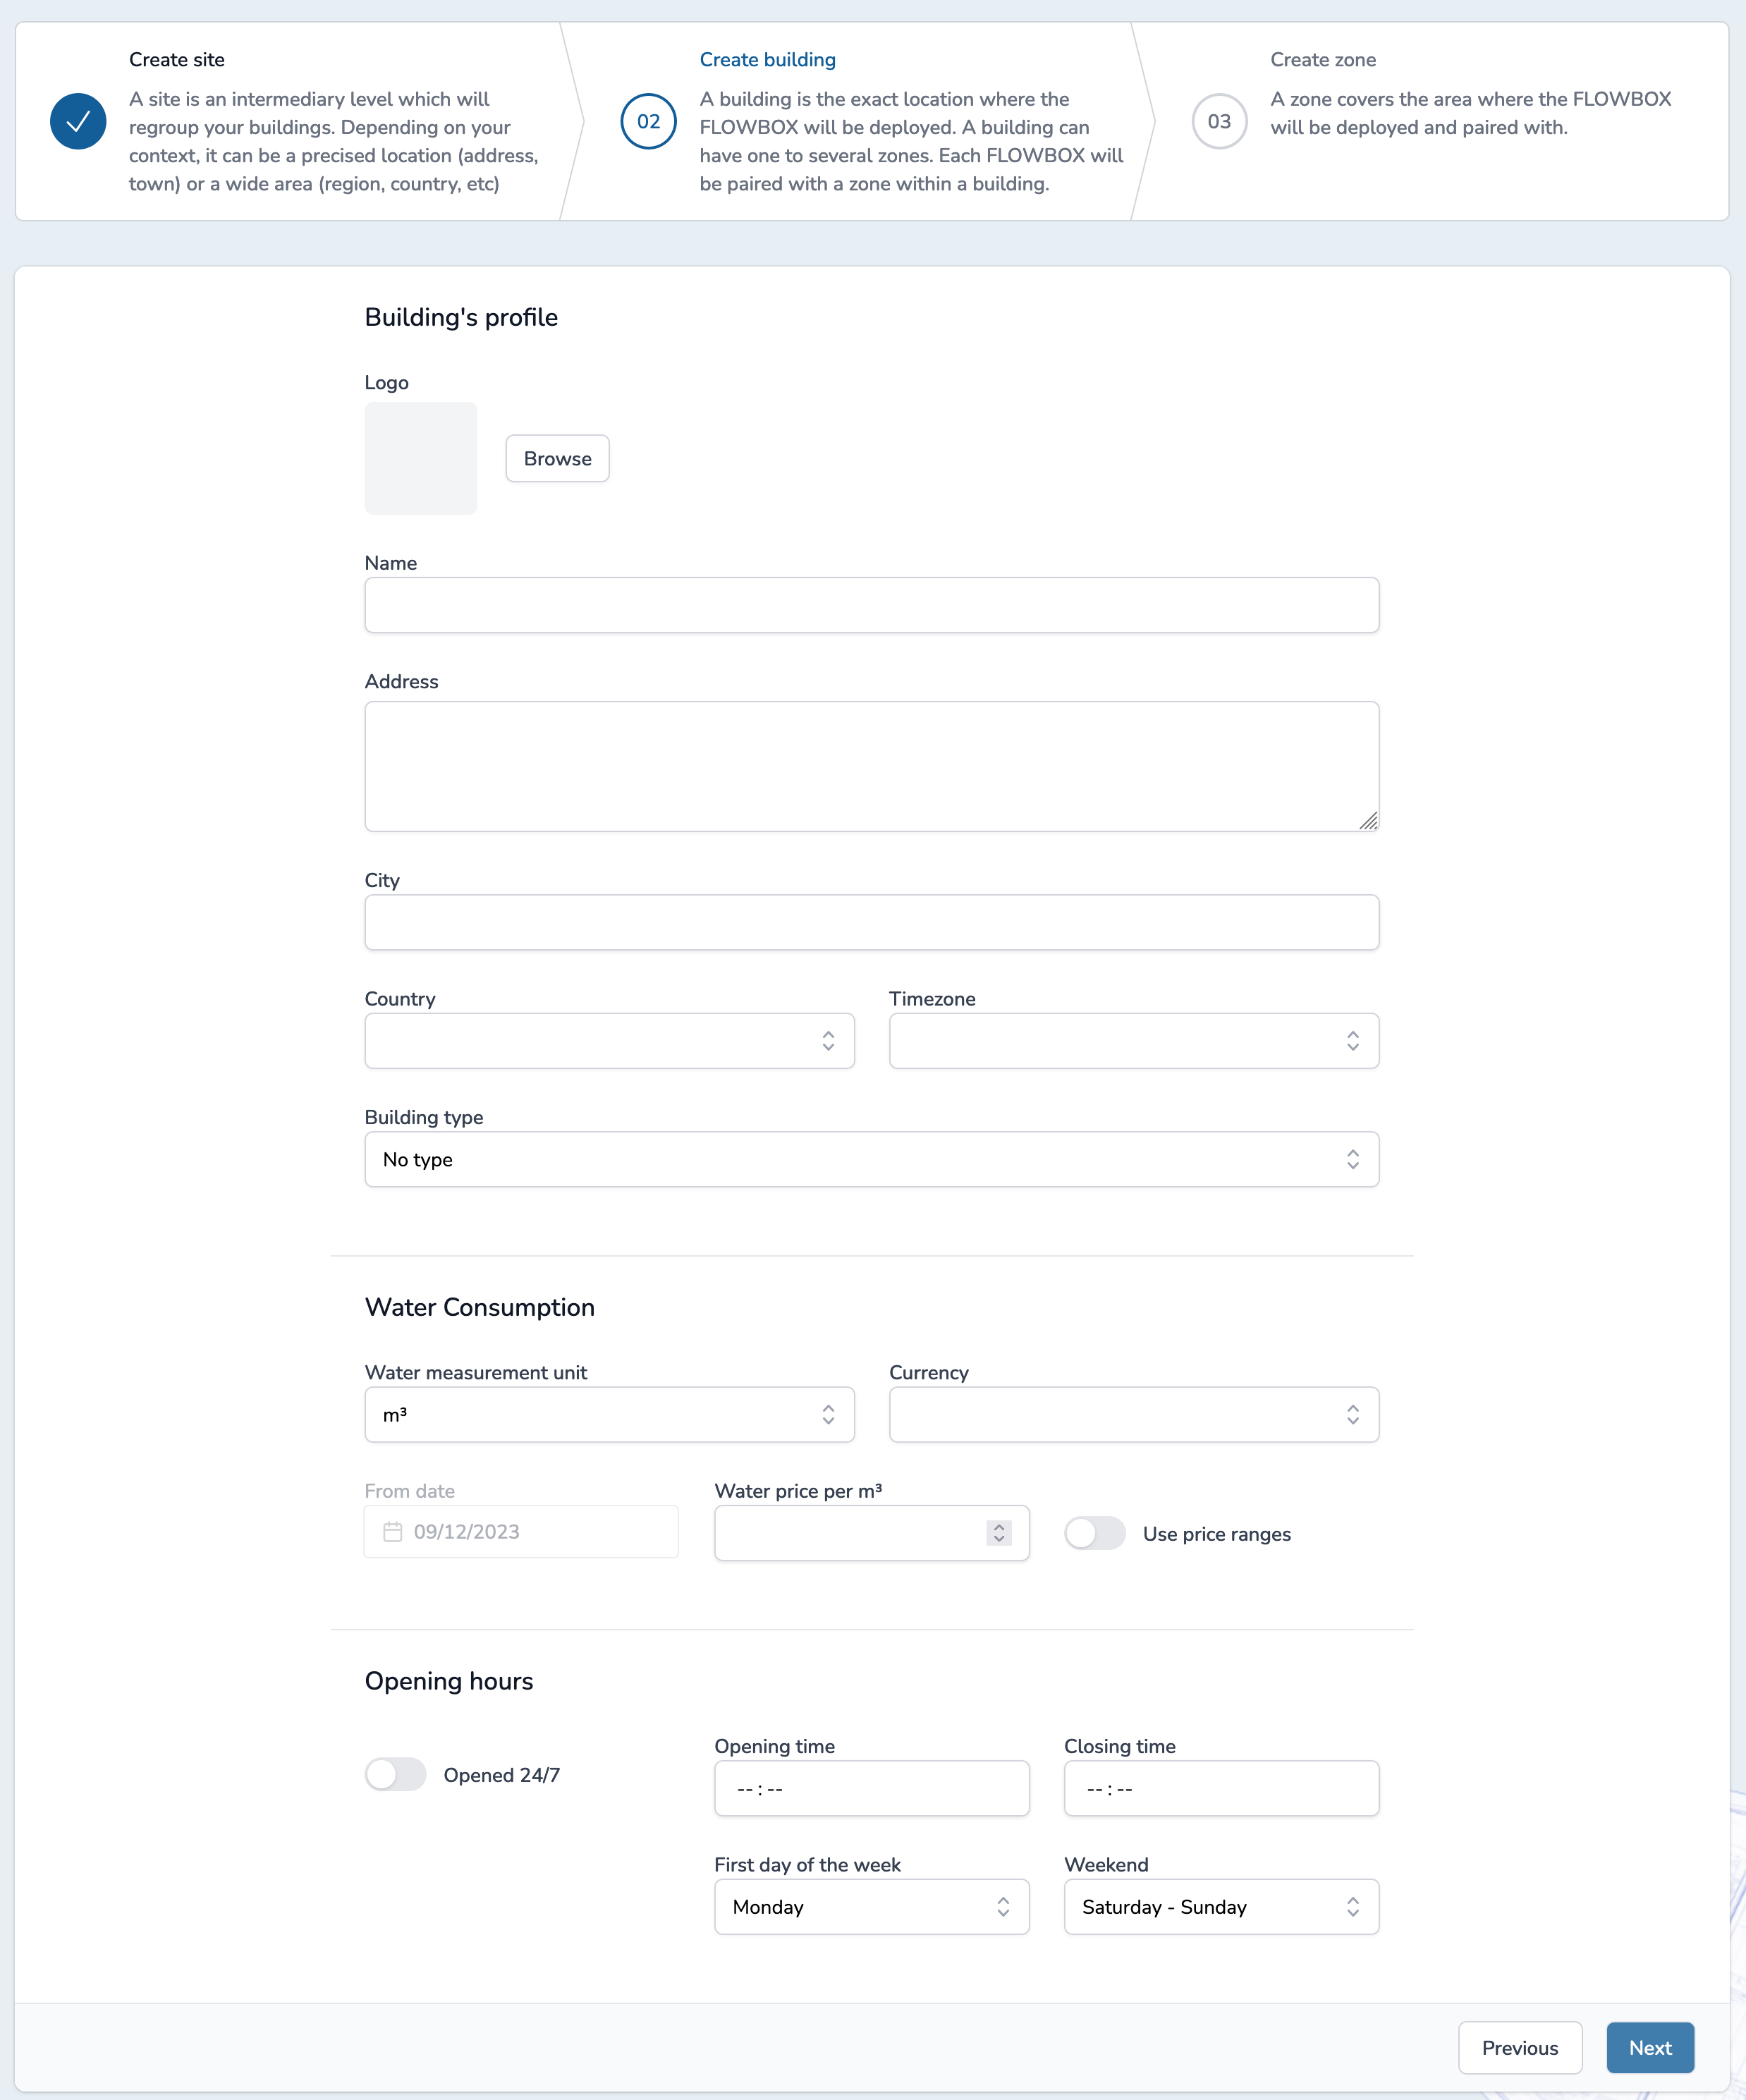
Once the form is filled, then click on "Next".
Last step, you can now fill the zone creation form:
FLOWBOX Acquisition Method
Acquisition method is not editable once zone is created. Be sure to choose the right value. Otherwise, you'll have to delete the current zone and create a new one.
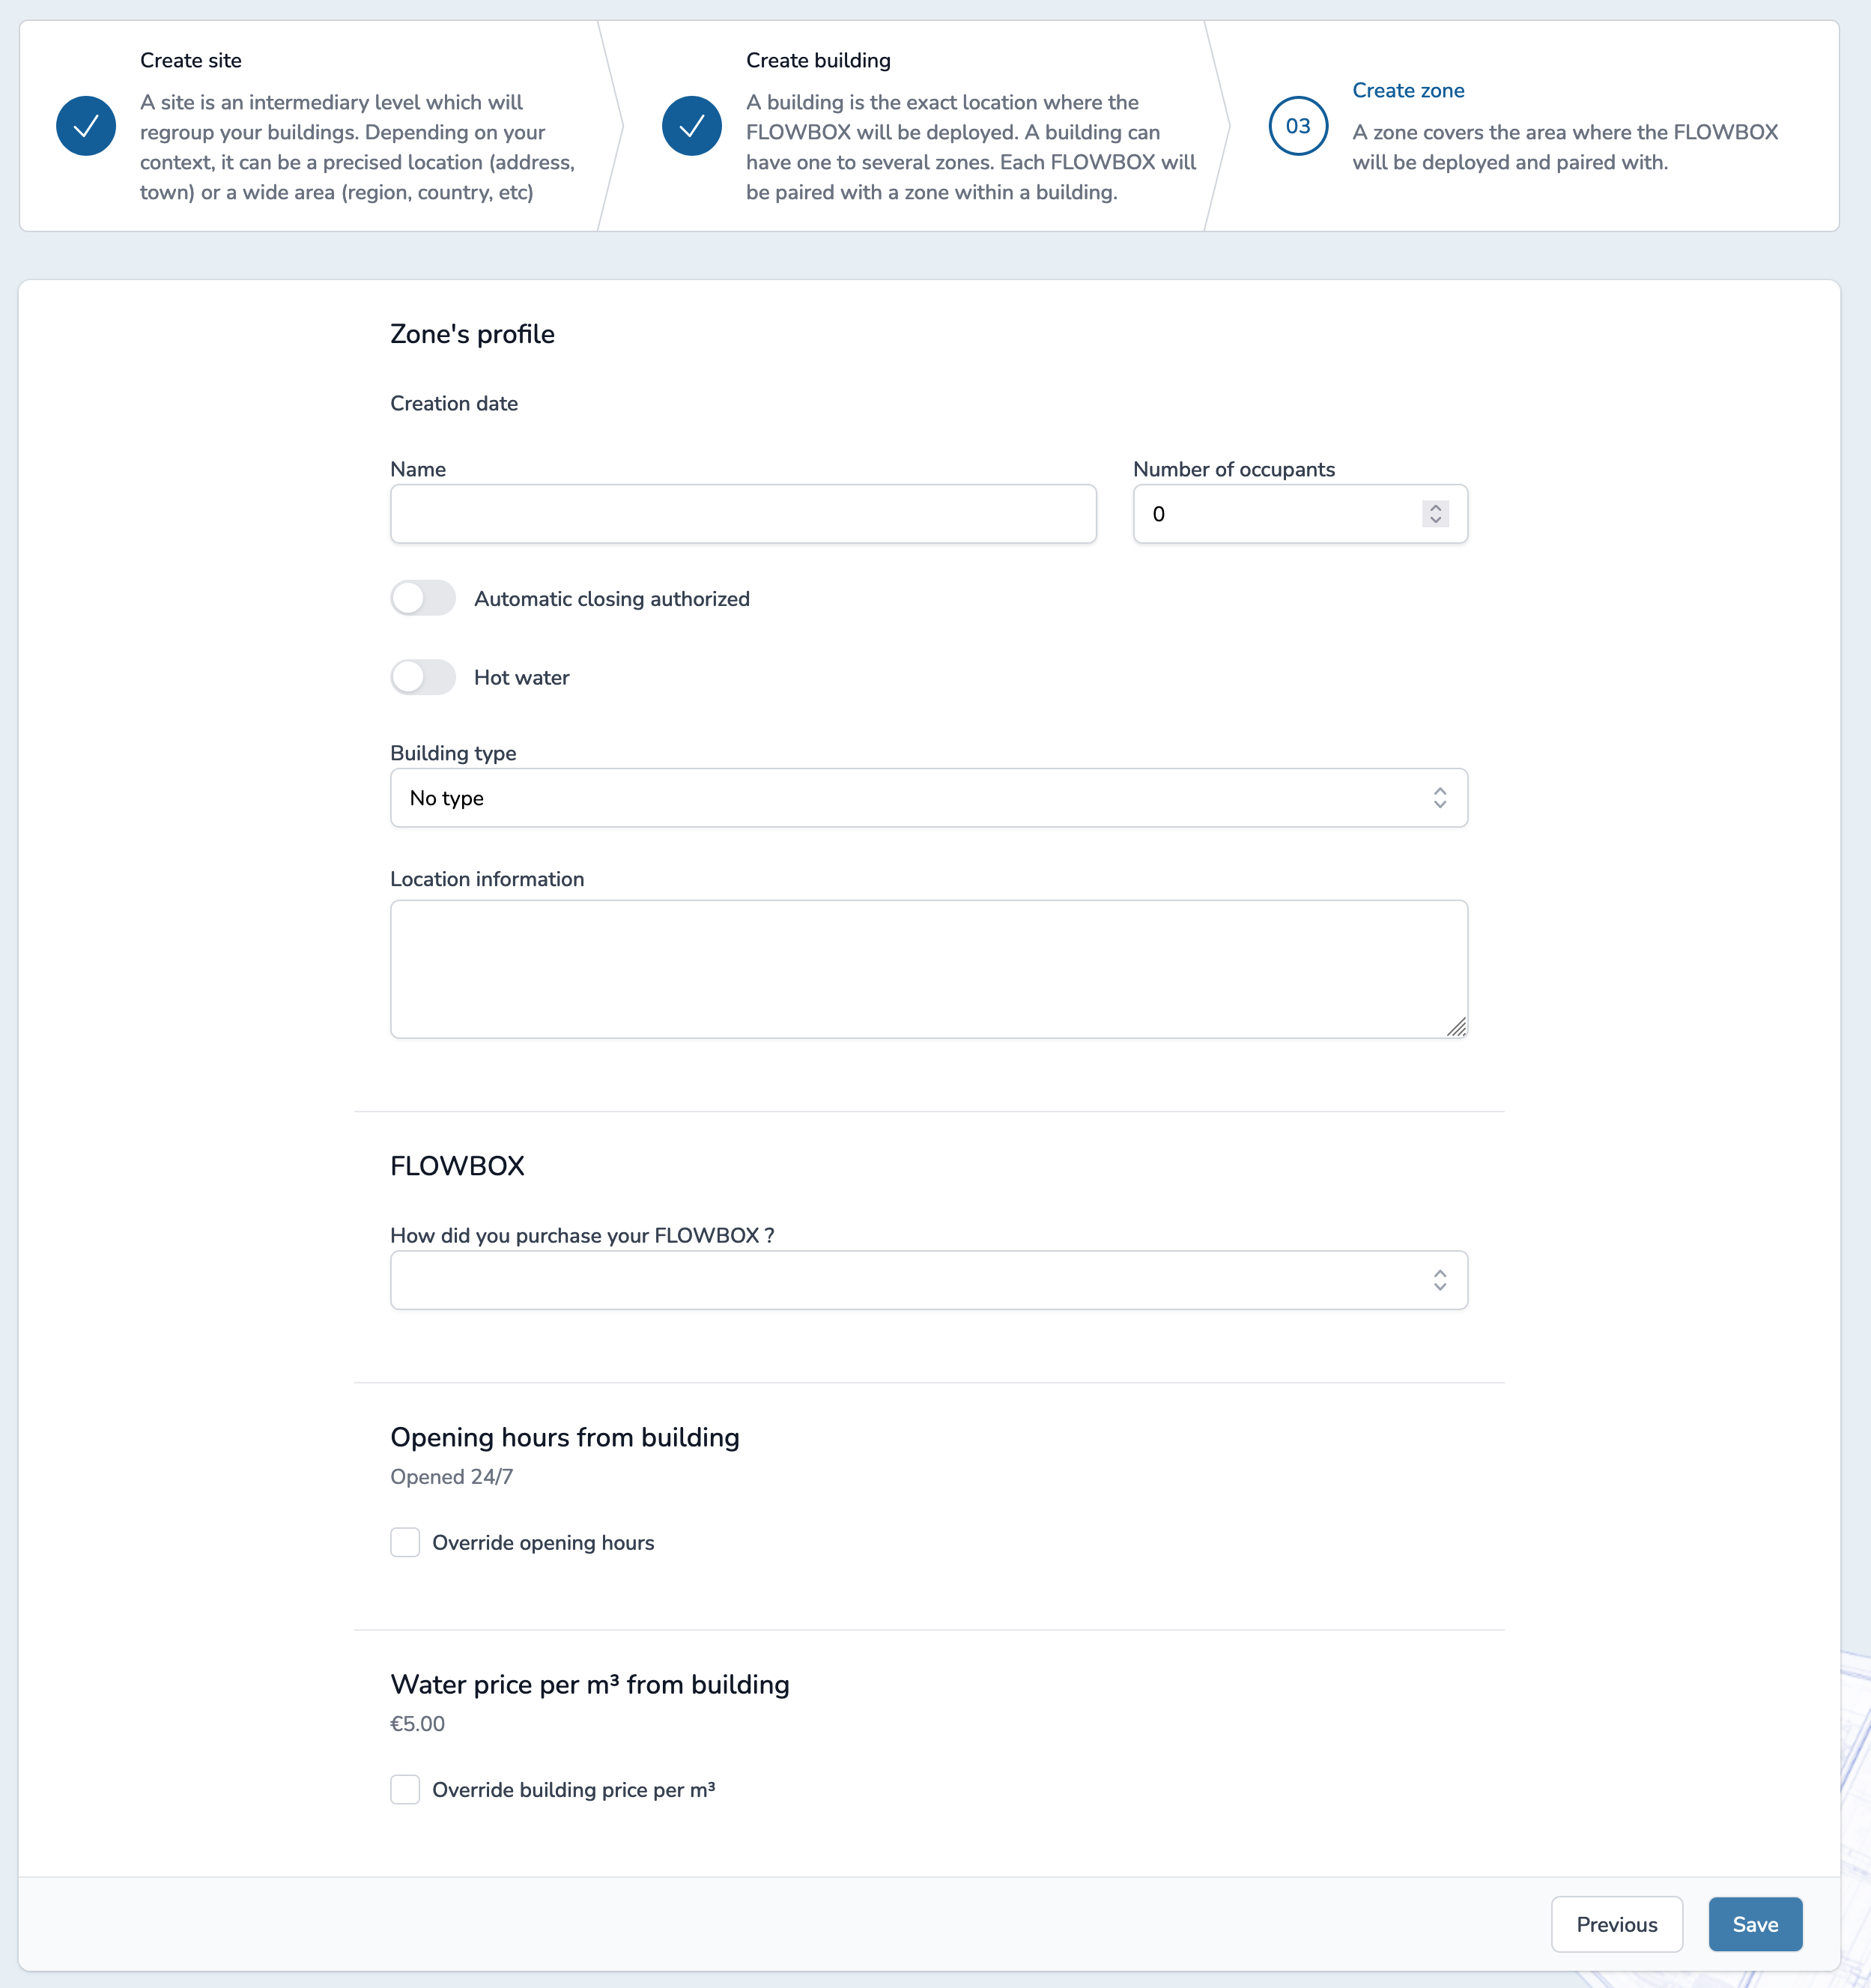
Click on "Save" button and you're done !
🎉 Congratulations, you just created your first Site, Building and Zone !
Choose your subscription
Now, click on the zone you just created.
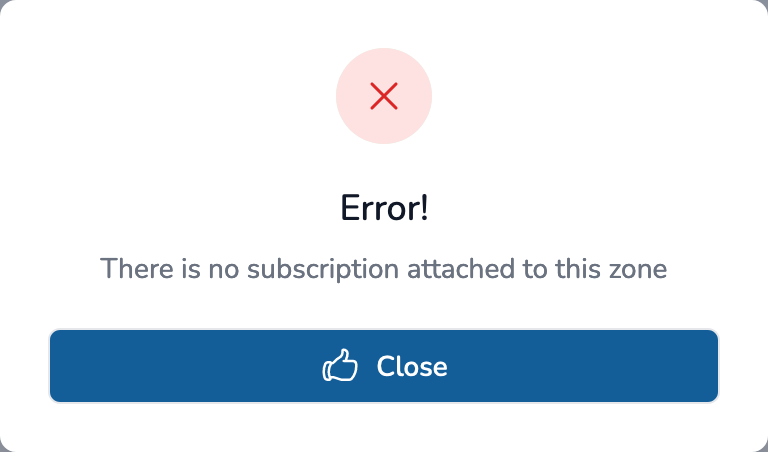
You will have a warning message suggesting that your zone don't have yet a subscription. We'll fix that immediatly.
On the header of your Zone's profile, click on "Subscribe" link:

You will be prompted available plans matching your country and the acquisition method of your FLOWBOX:
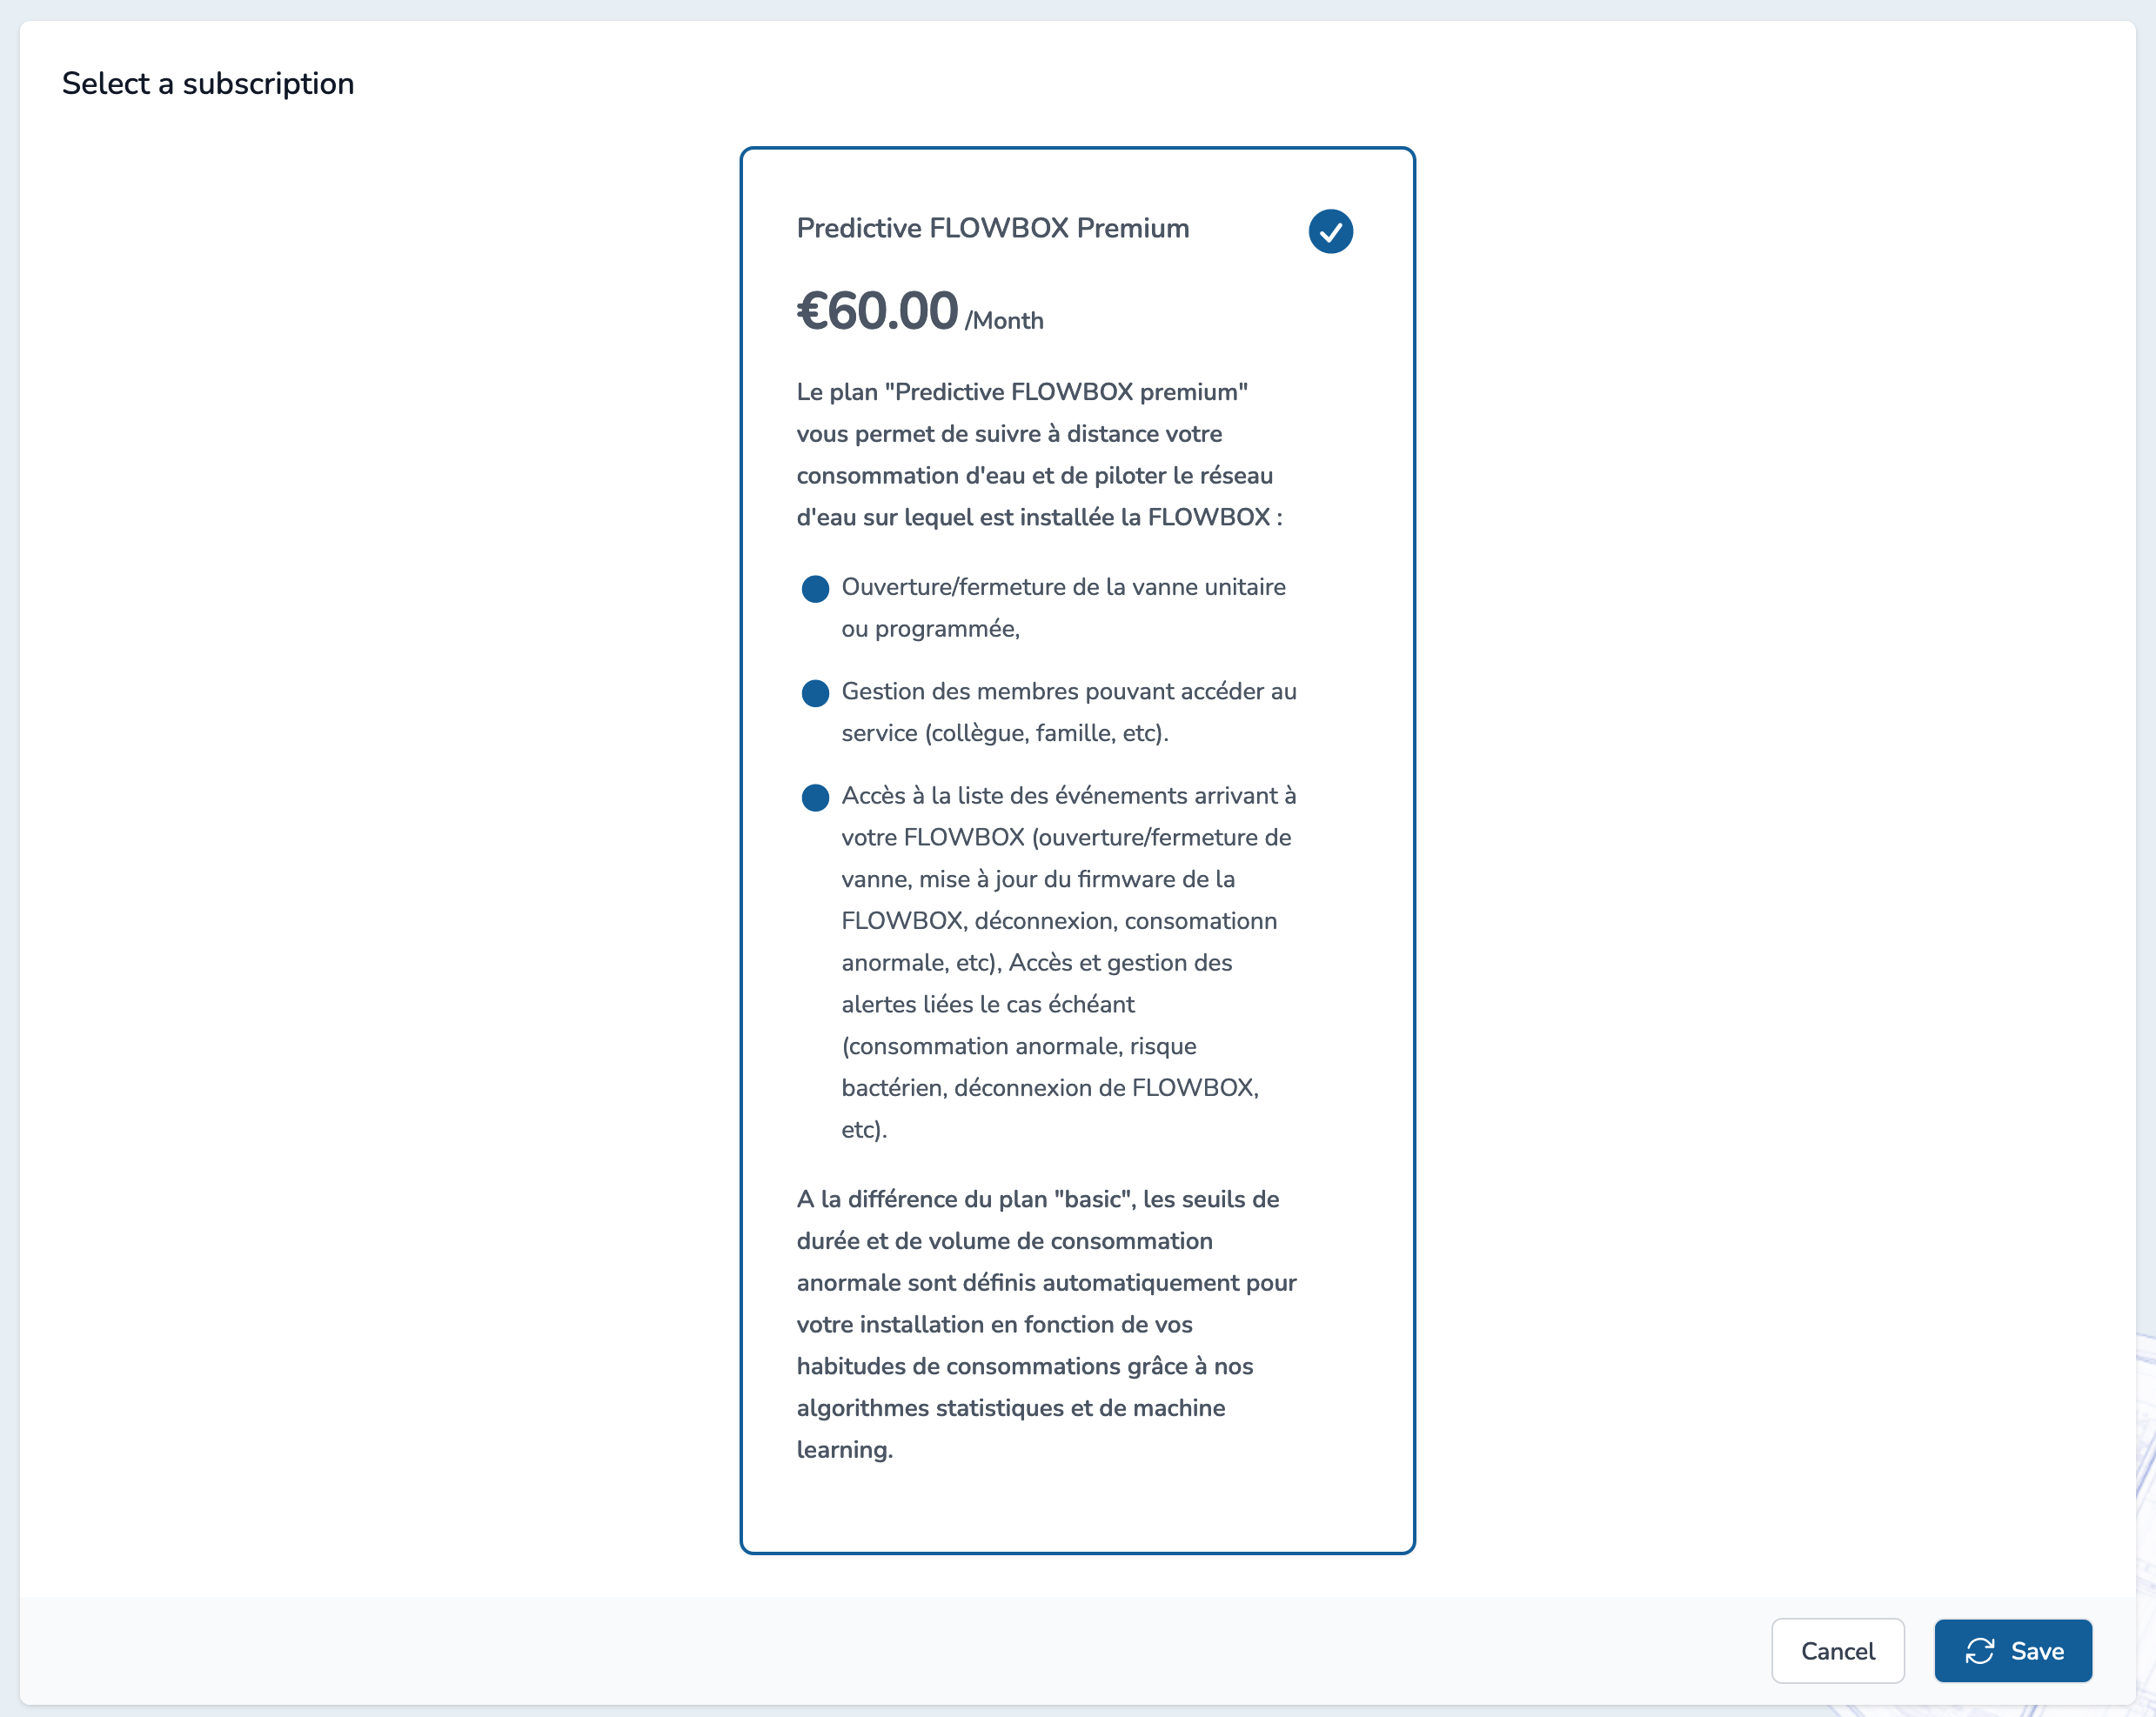
Select the plan that match your needs and click on save.
You can see your subscription is now updated with the name of the plan you selected:

Retrieve FLOWBOX setup instructions
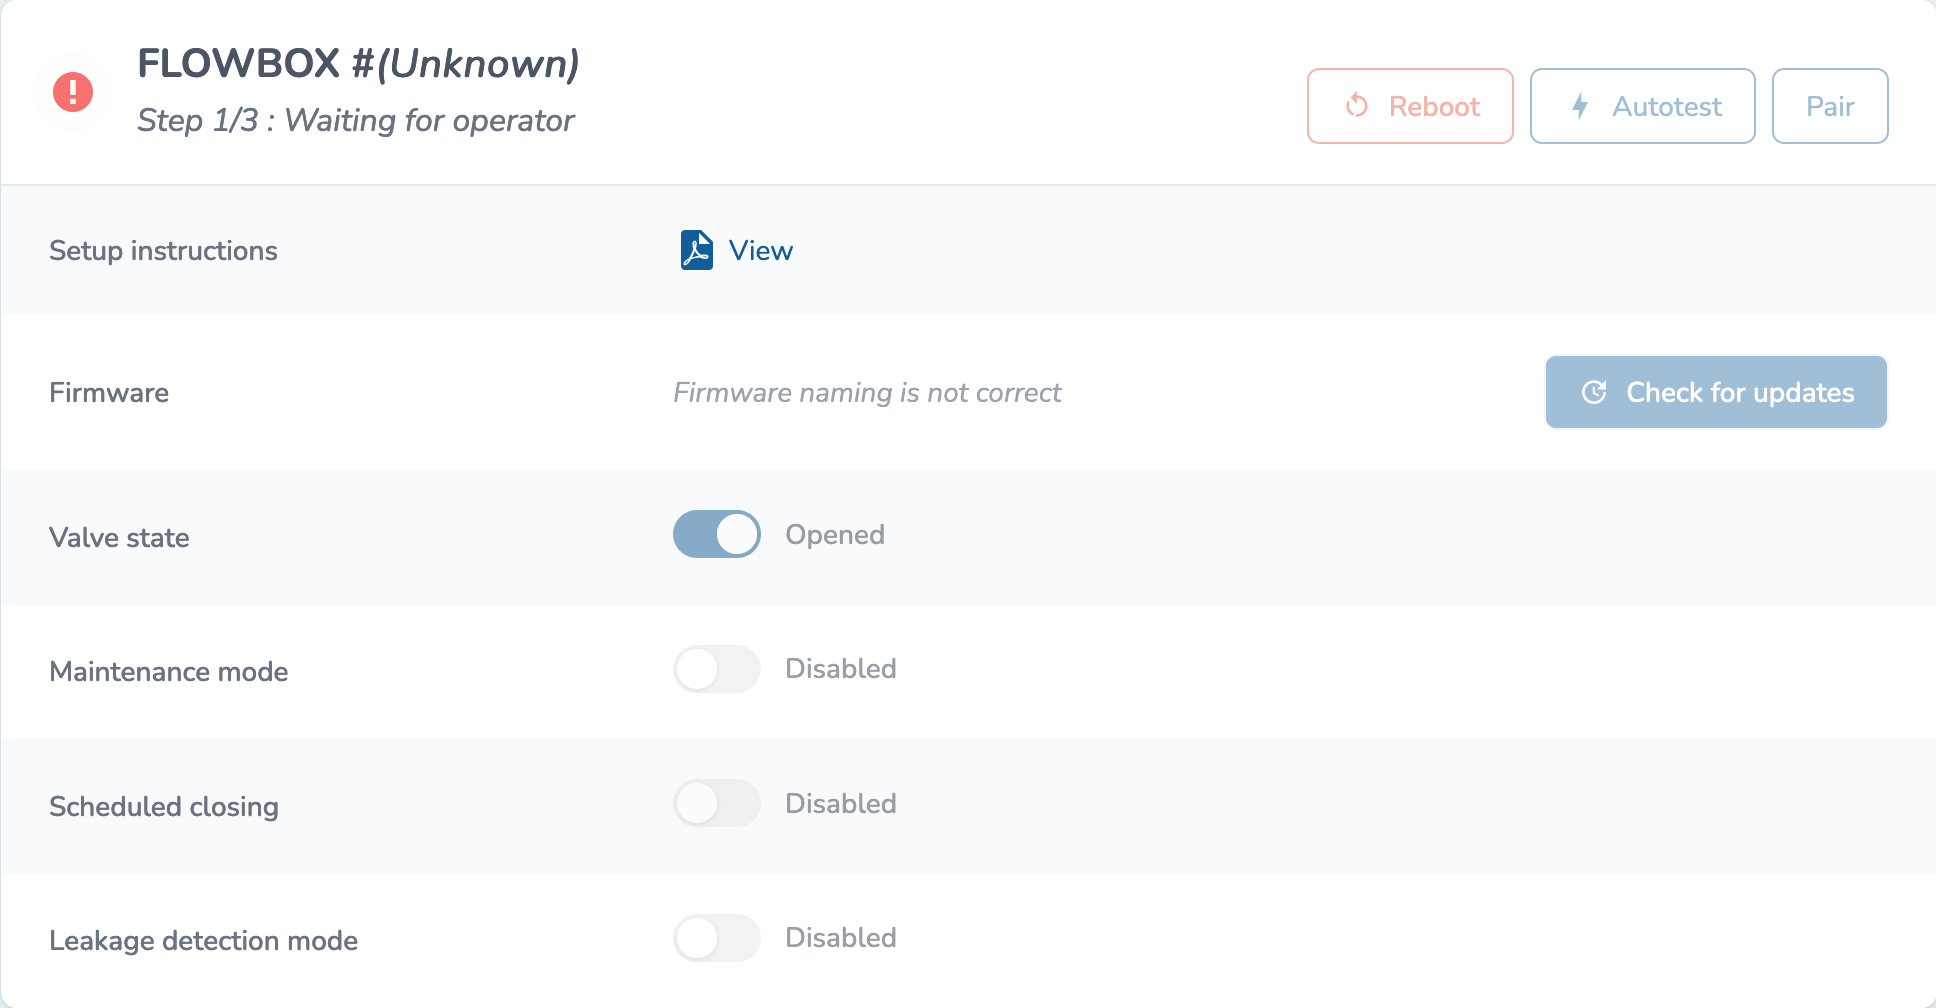
You can now click on the FLOWBOX button in the header:

On FLOWBOX profile, you can click on "View" button to retrieve setup instructions.
Save the file on your computer.
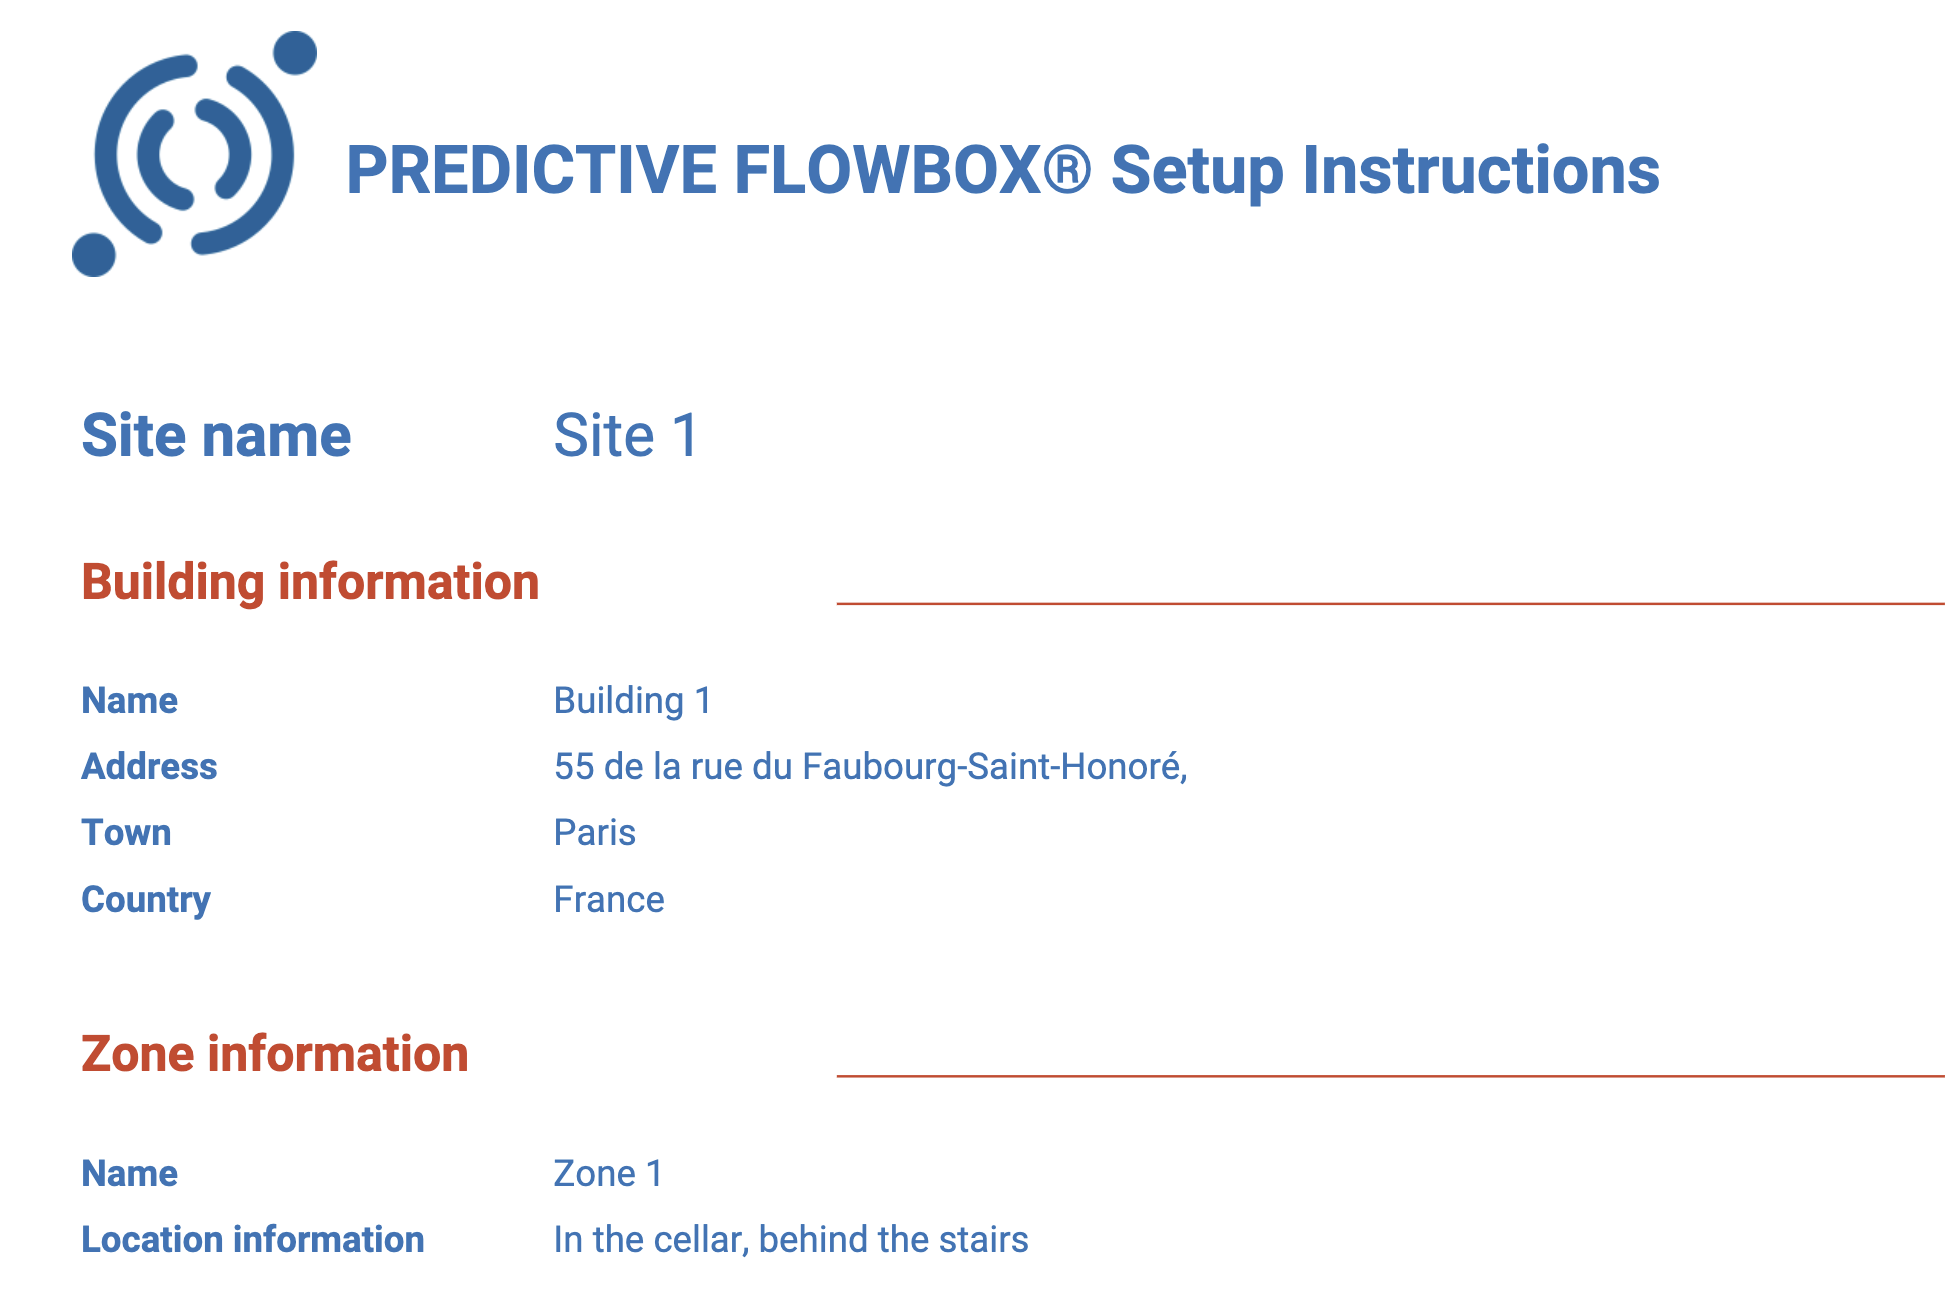
Setup instructions consists in three parts:
- First part will describe where the FLOWBOX should be deployed (so that operator will not confuse one FLOWBOX with an other if he/she has to install several of them)
- Second part will provide required information to connect to the FLOWBOX and then to configure it
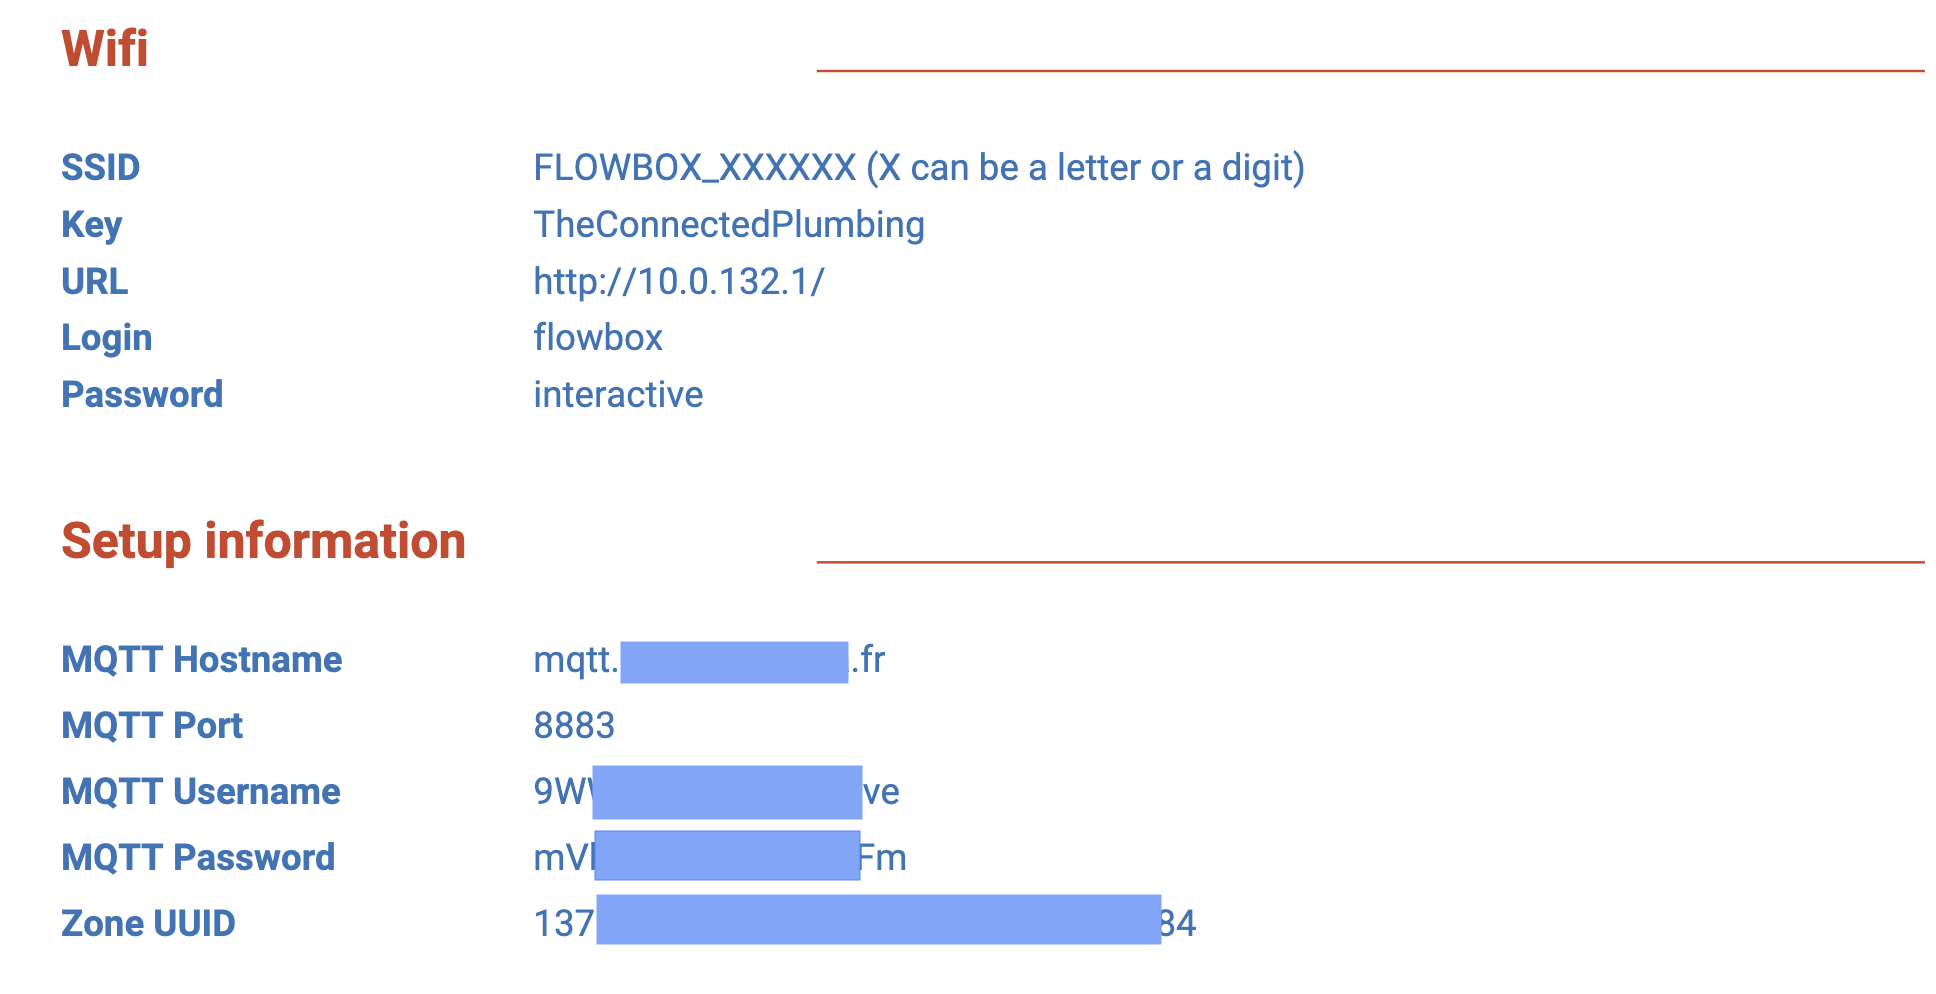
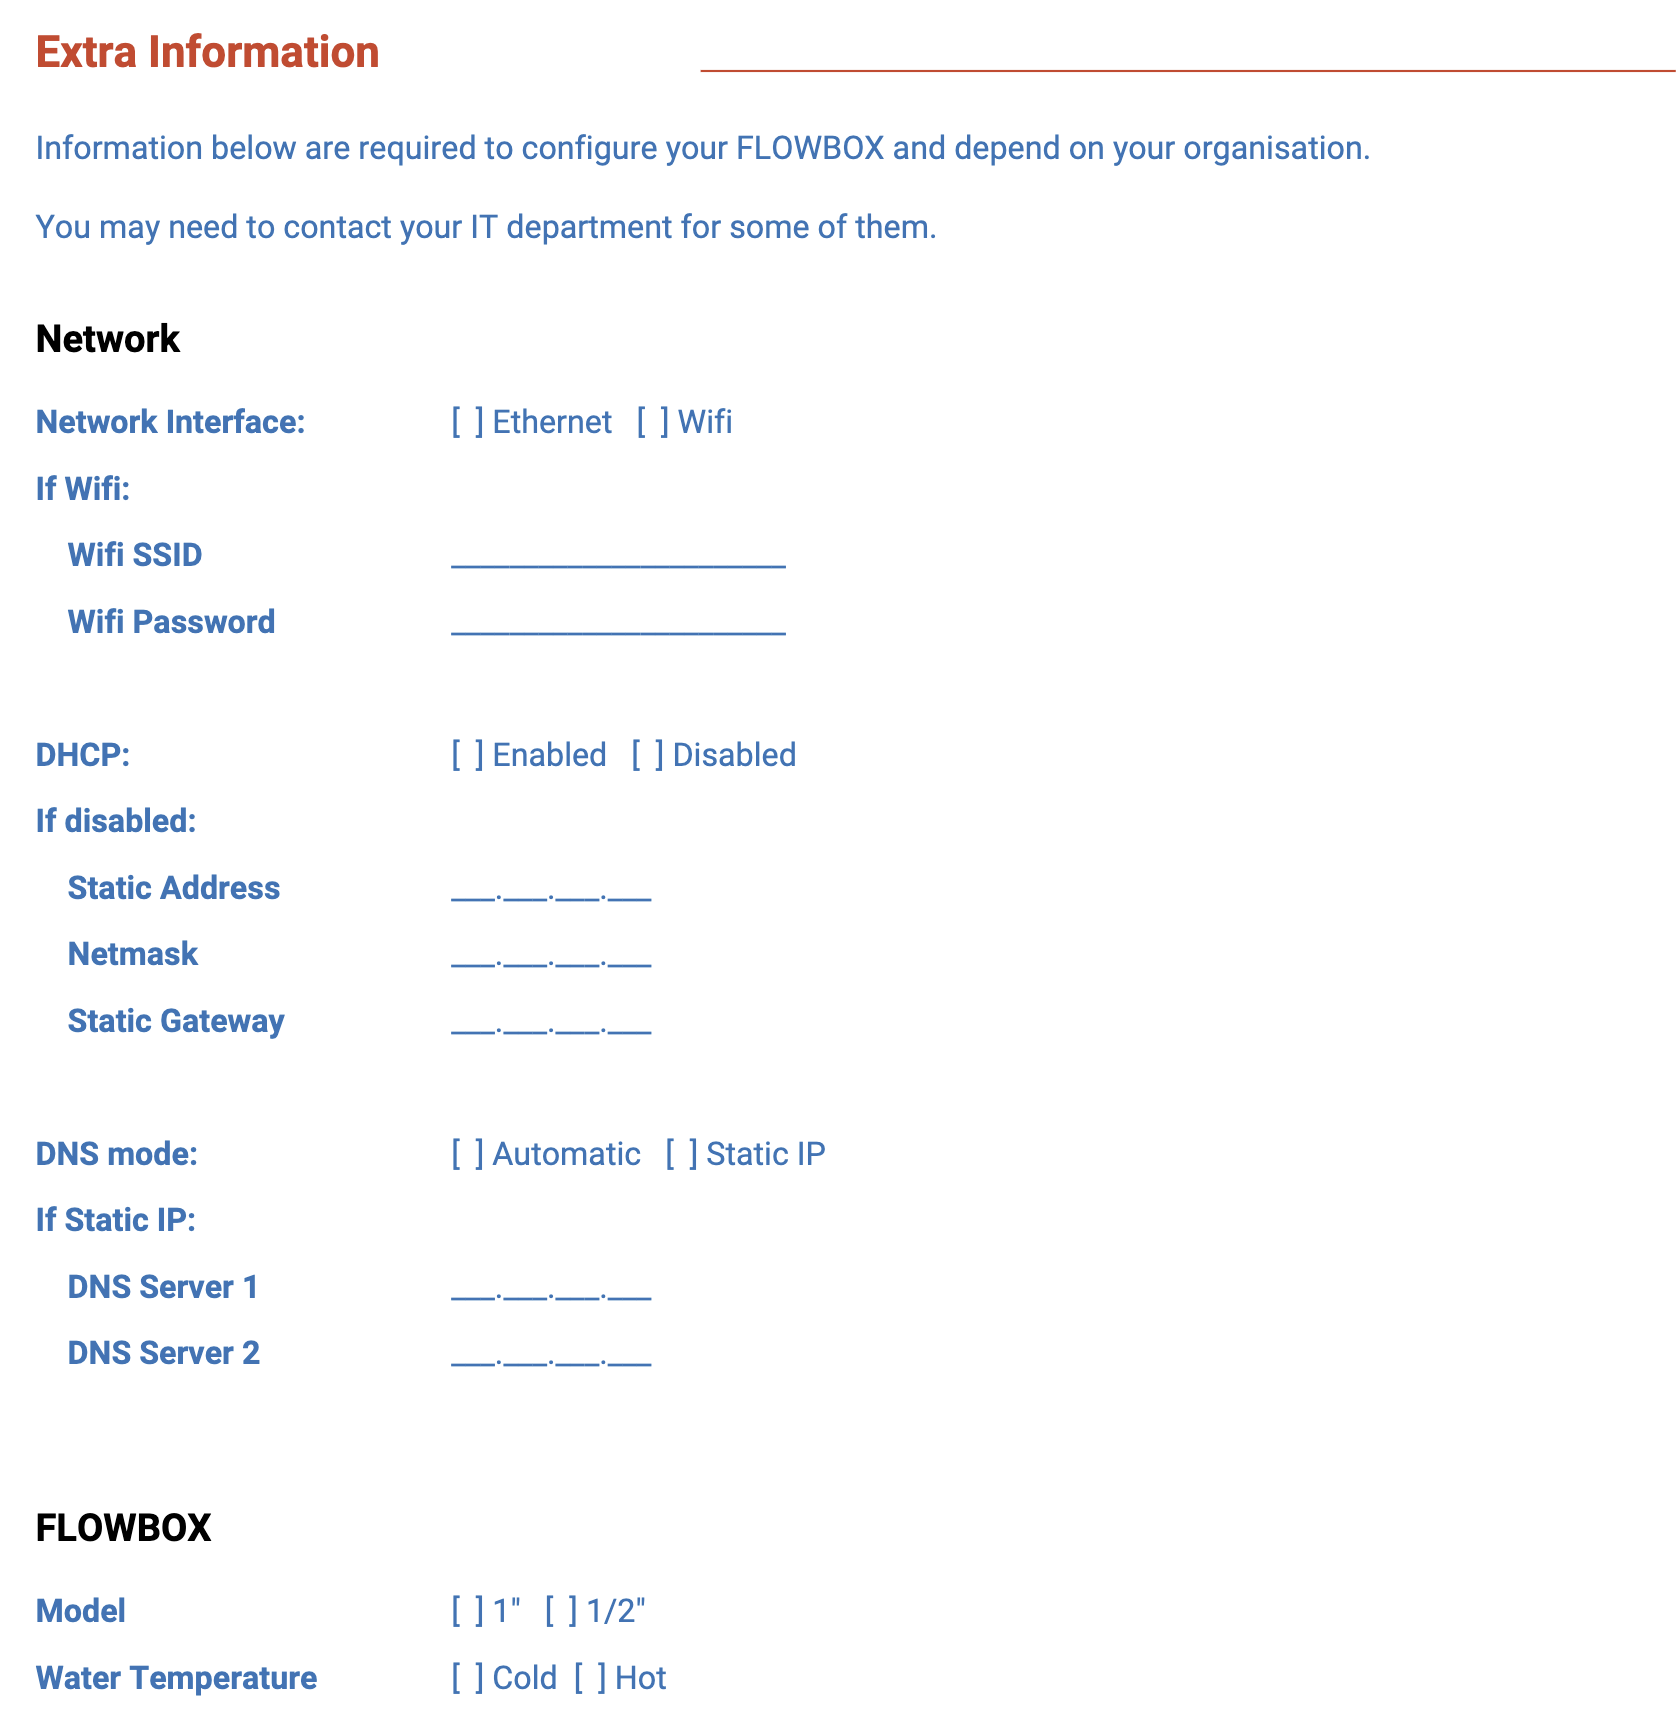
- Last part is about IT requirements and some details about the FLOWBOX:
- IT Requirements : You may need to contact your IT department to get all the required information. Otherwise you may not be able to pair the FLOWBOX correctly.
- FLOWBOX: precise if FLOWBOX is for a cold/hot water network and the size of the FLOWBOX.
Now it's time to power on your FLOWBOX and configure it.
Second and beyond FLOWBOX deployments
Wizard above is no longer available - you will have to create a Site, Building and Zone manually depending on your needs:
- If you add a new FLOWBOX in an existing building, just create a new Zone.
- If you deploy a new FLOWBOX in a new Building, then create a new Building and a new Zone within this Building,
- If you deploy a new FLOWBOX in a new Site, then create a new Site, then a new Building within this Site and a new Zone within this Building.
Create a new Site
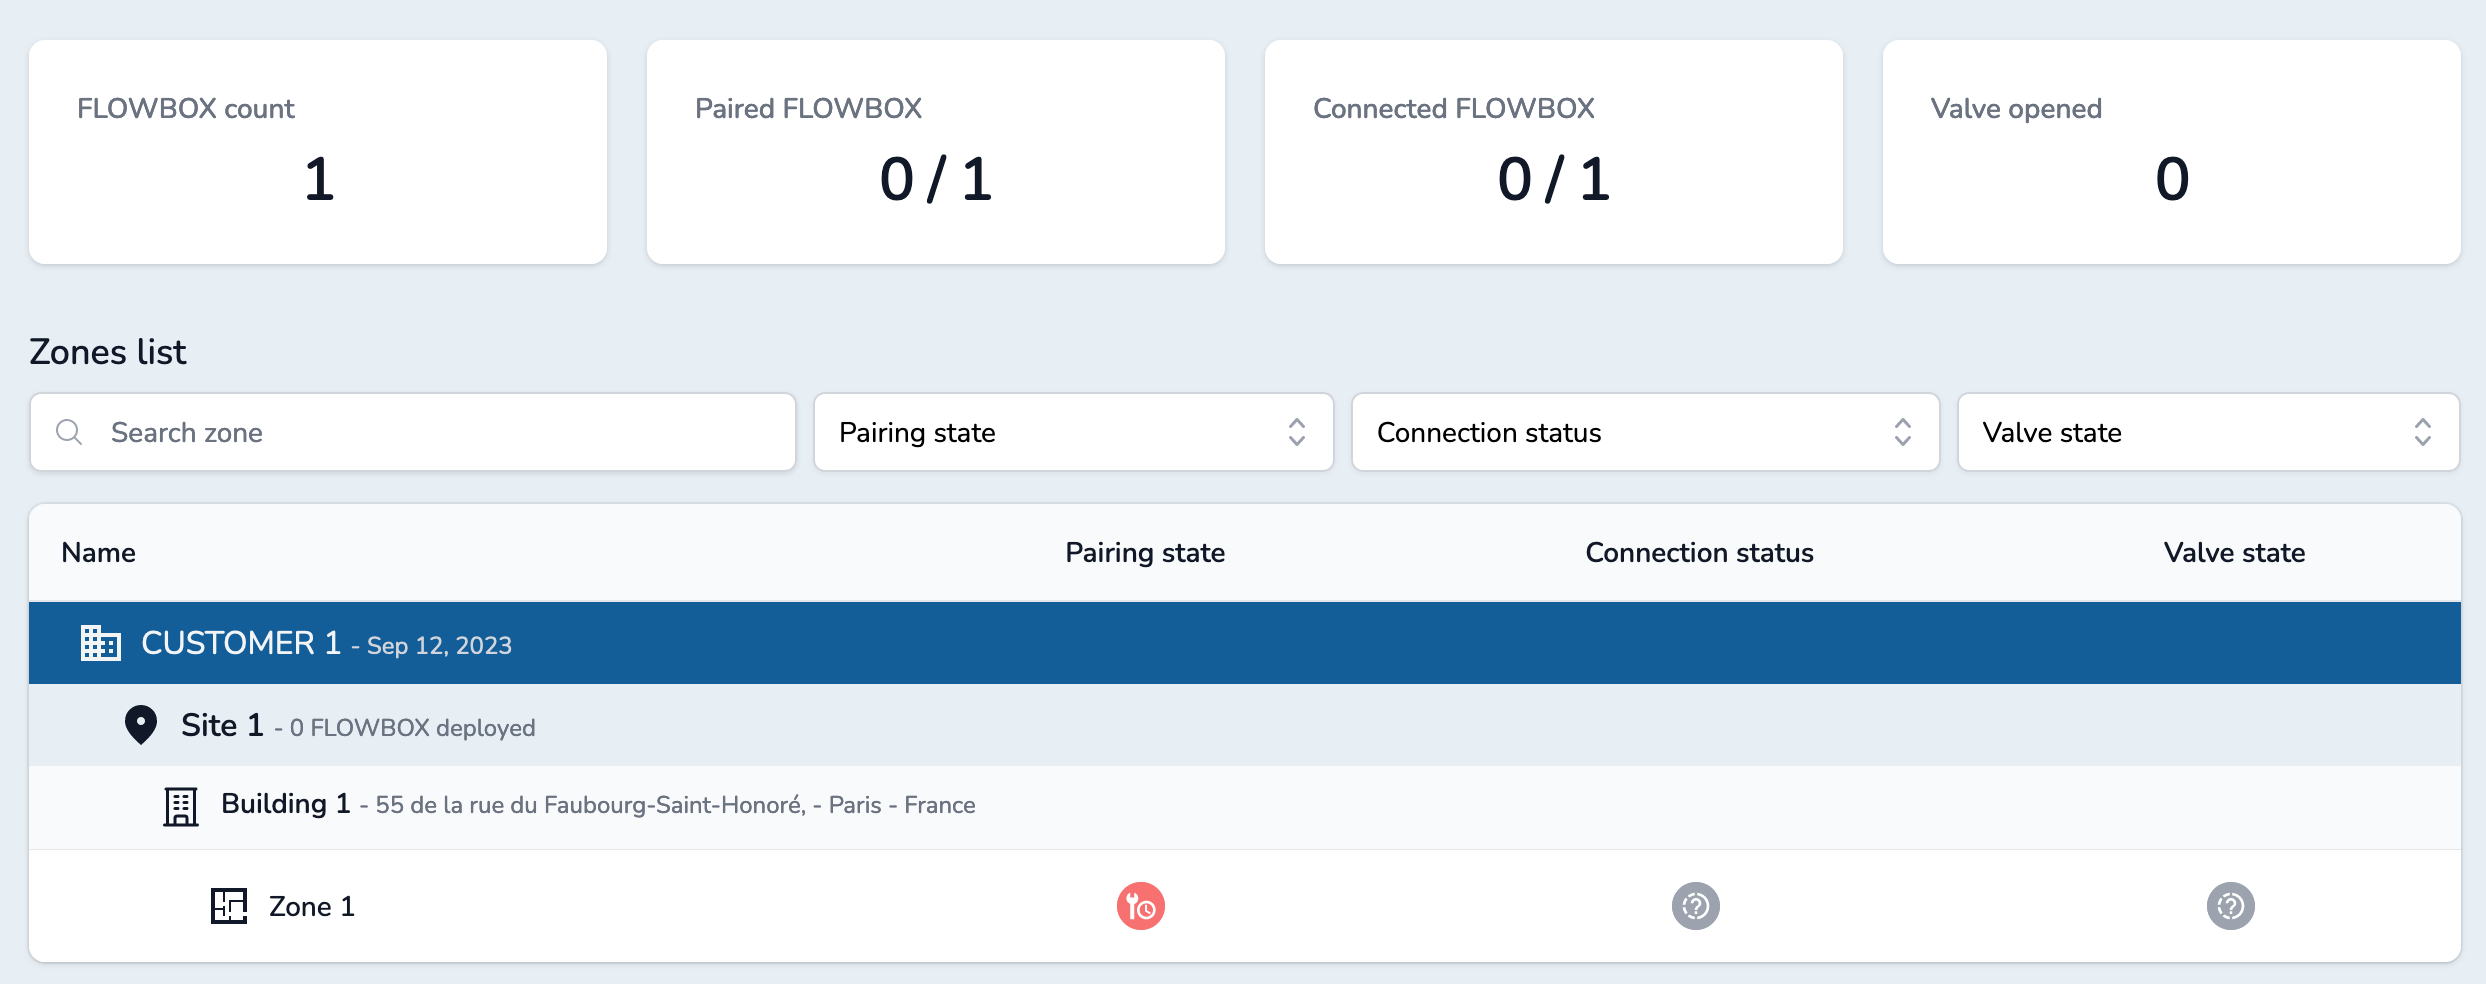
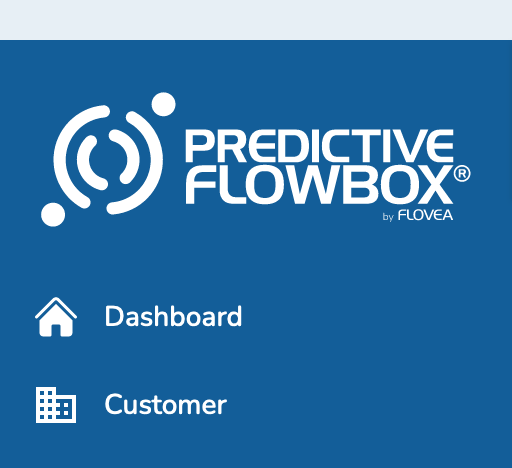
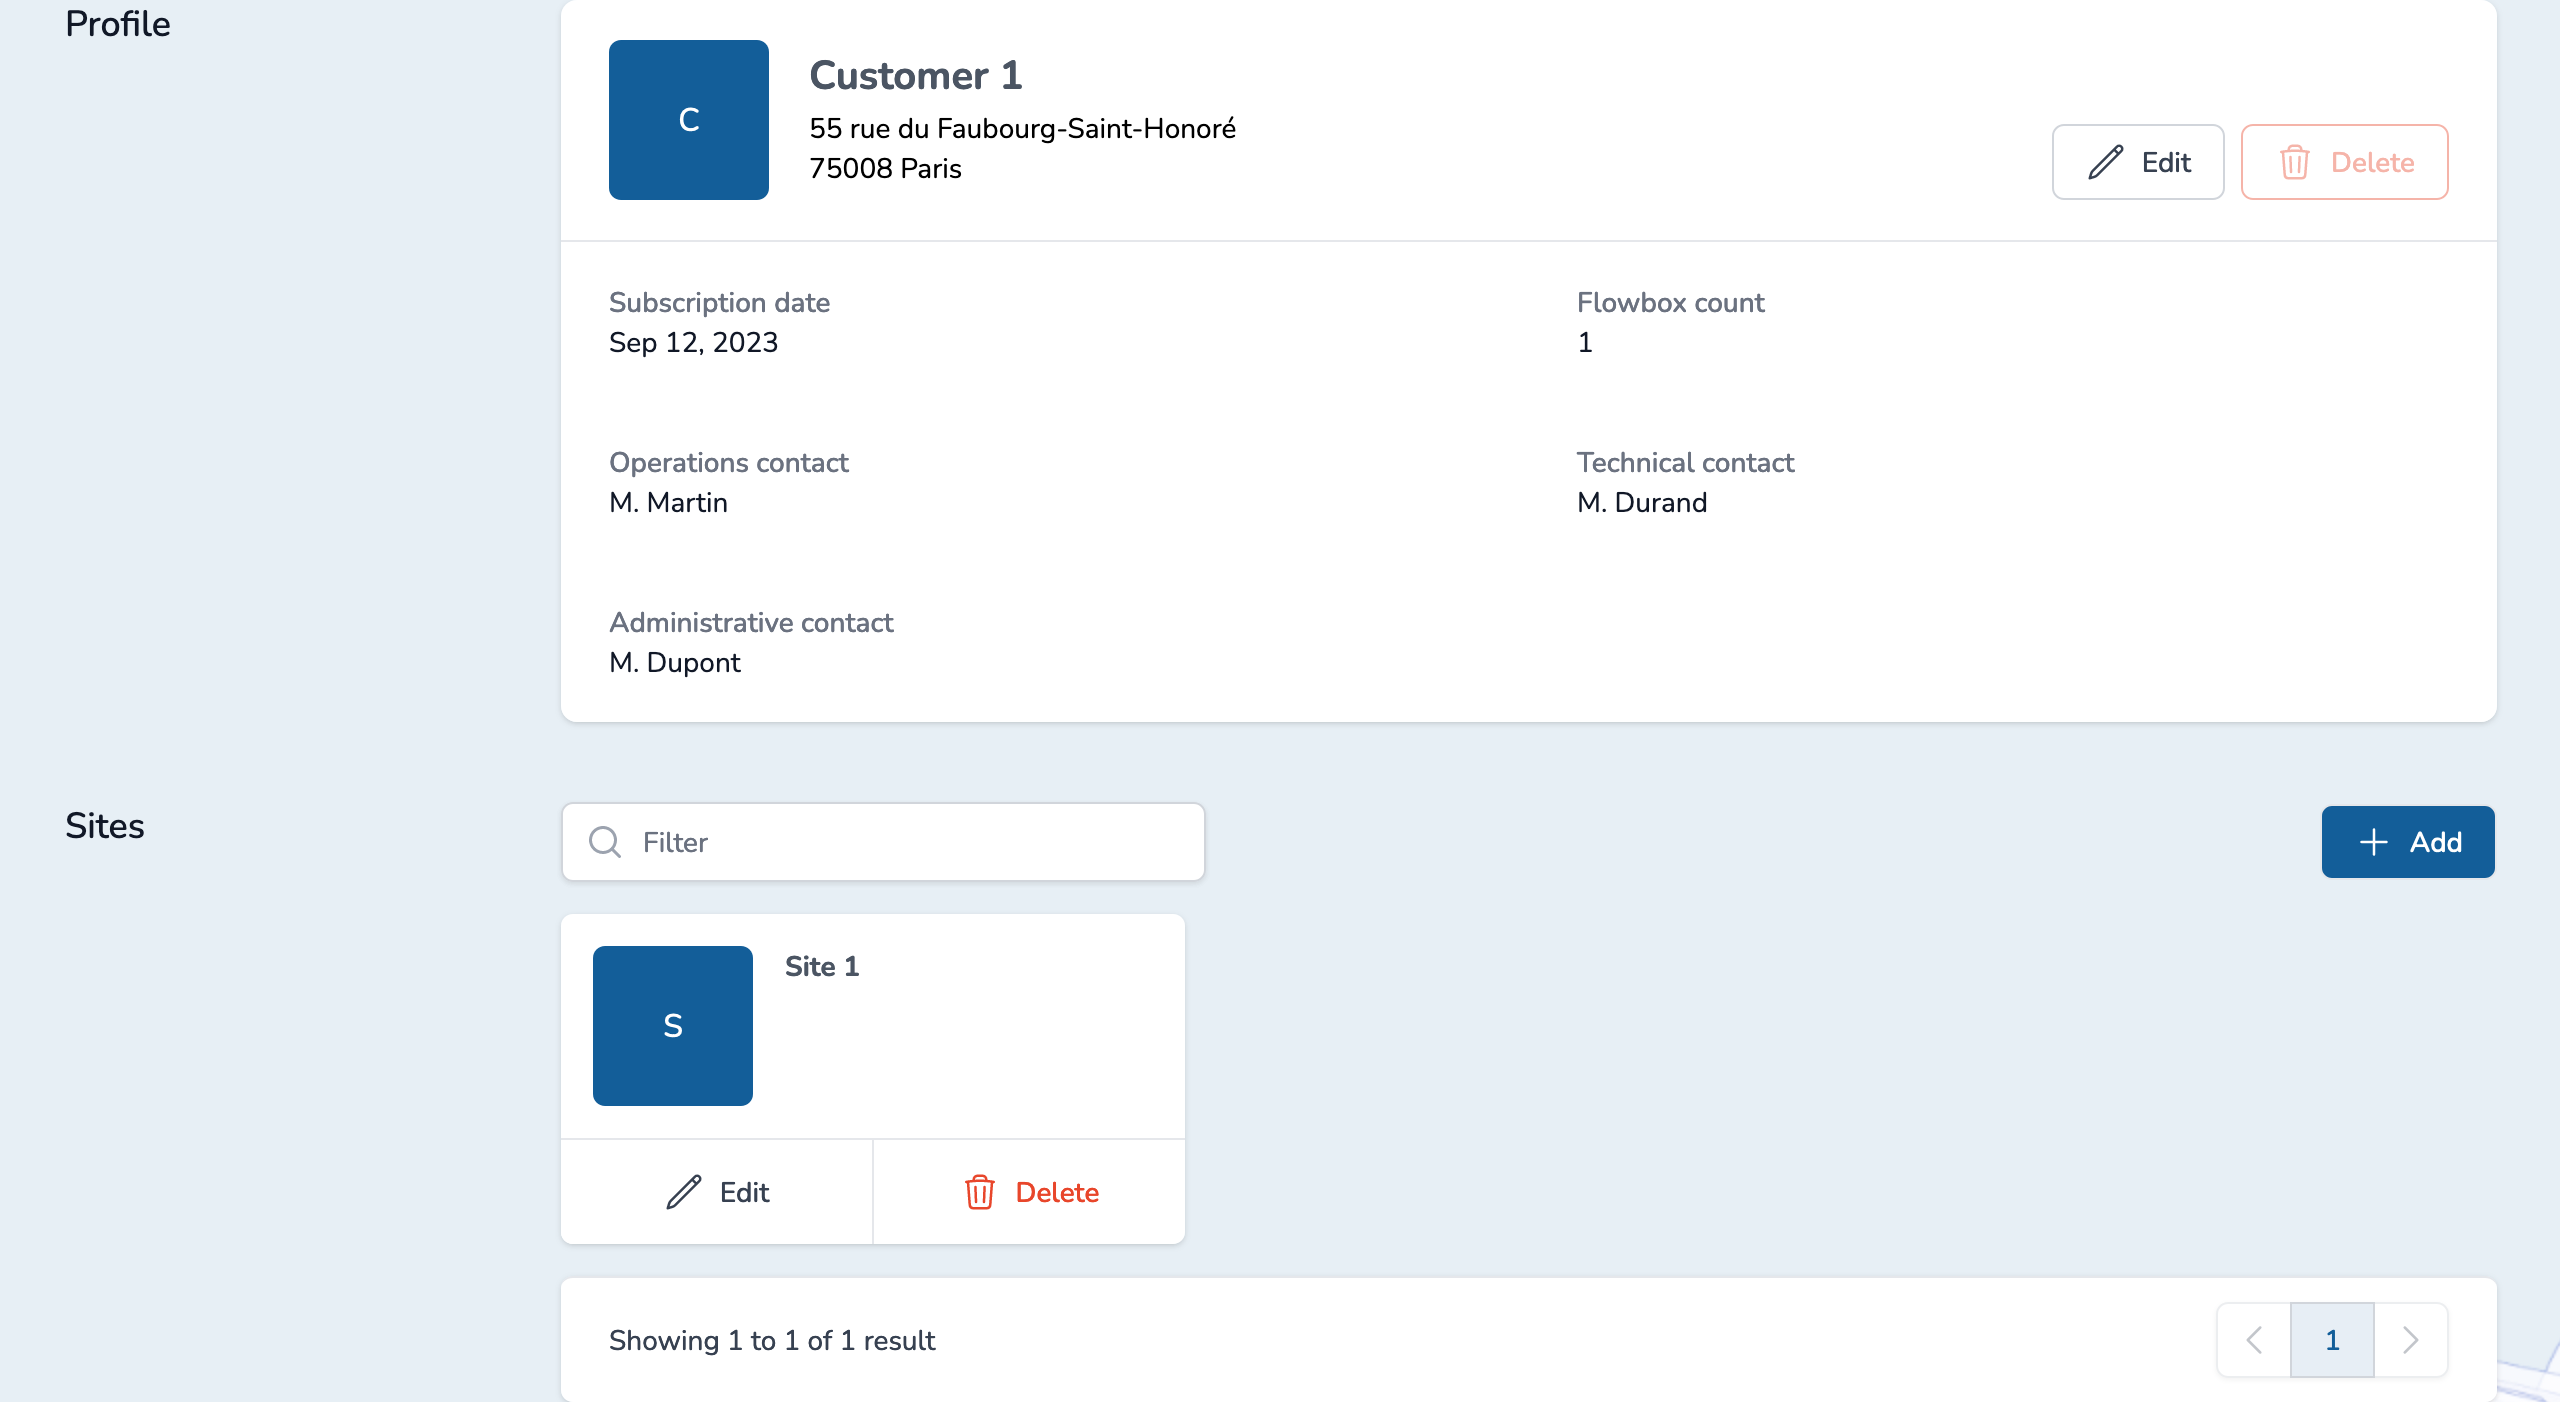
From the Dashboard page, reach the Customer's page:
- Either click on the Customer name in the Zone list widget
- Or in the menu on the left, click on "Customer"
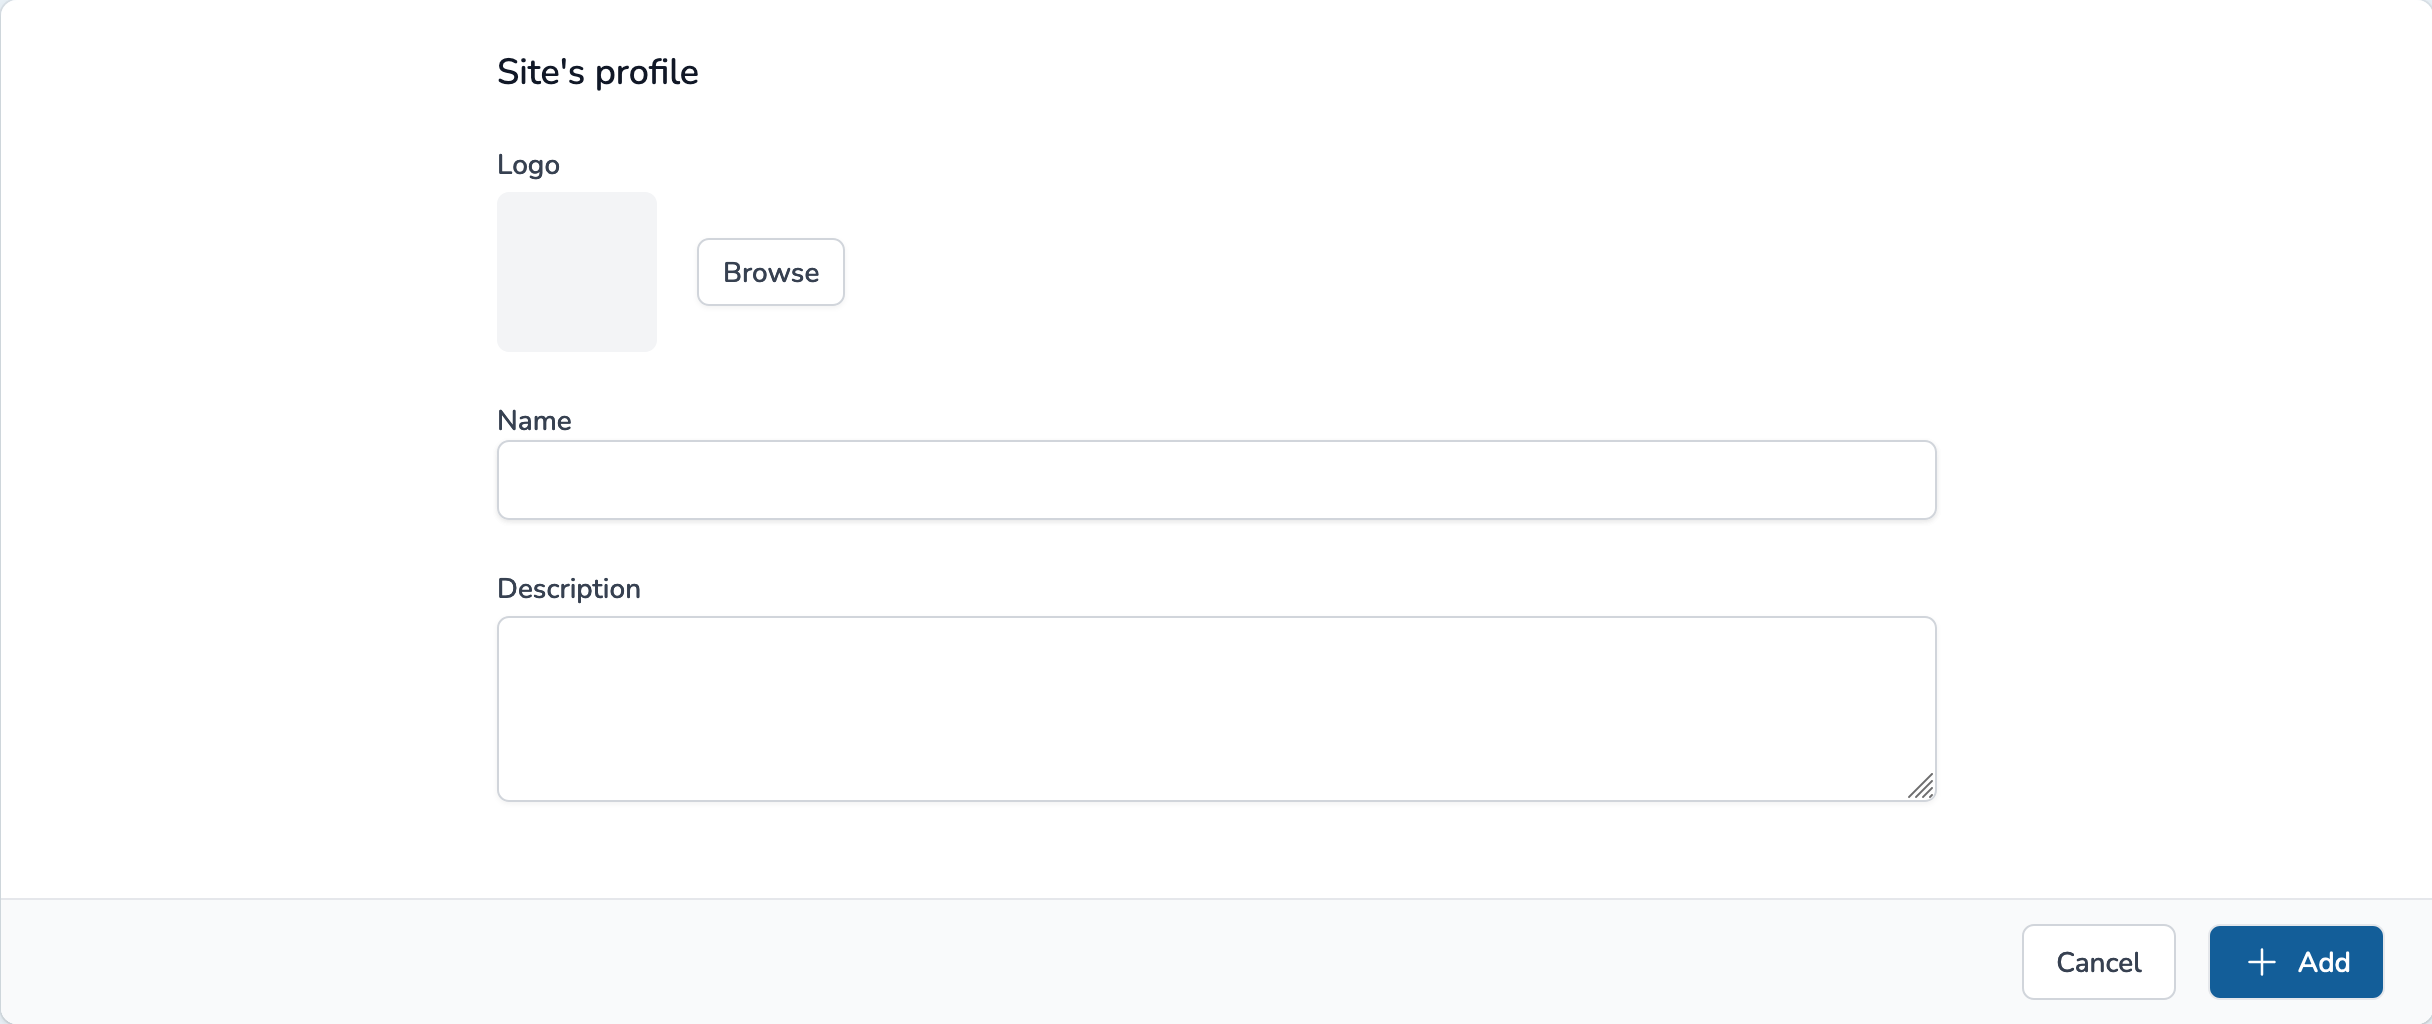
Below customer's profile, you will find all existing sites. To create a new one, click on "Add" button.
Fill the form and click on "Add" to create it.
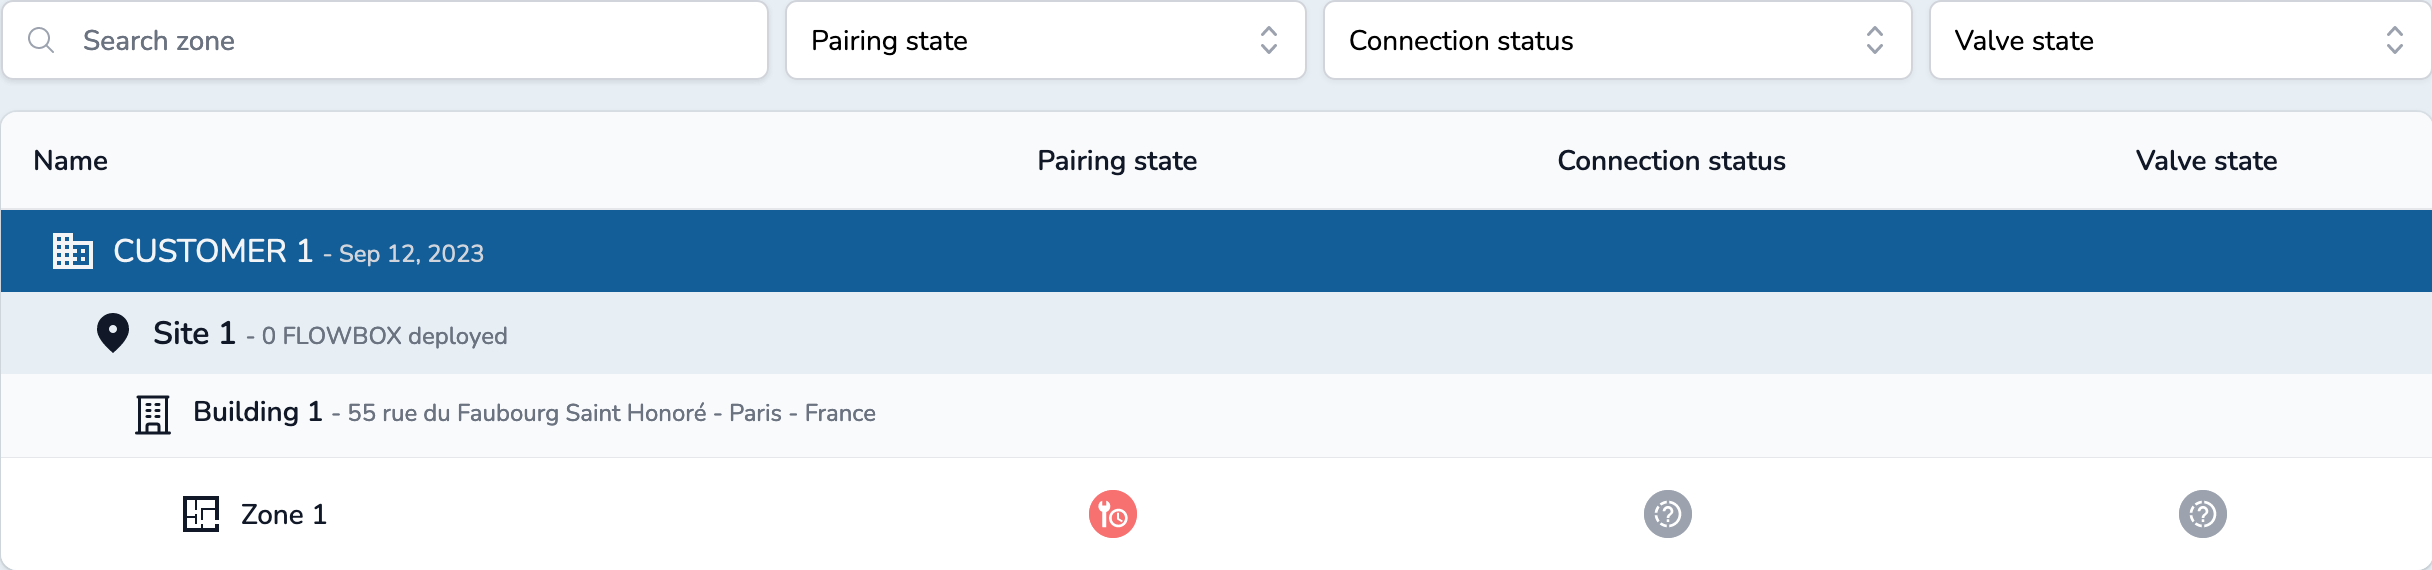
You can see your new site:
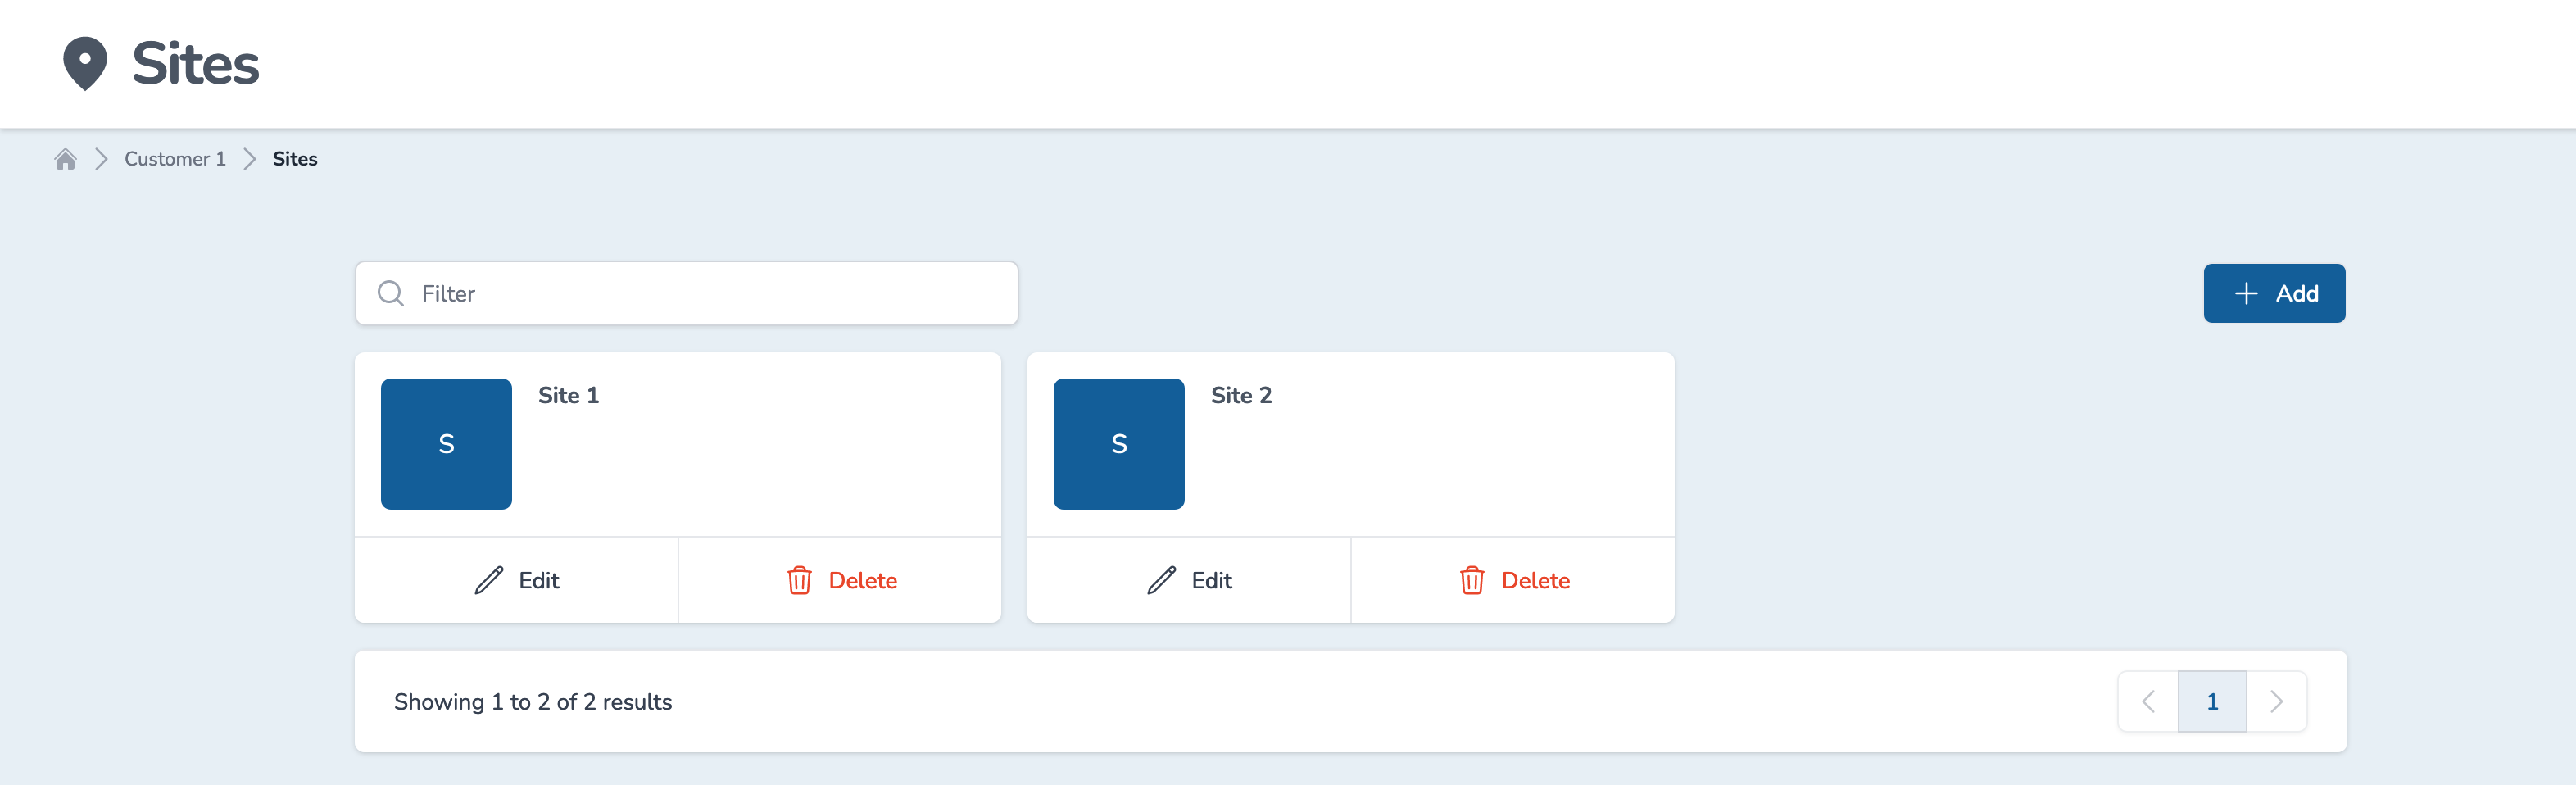
You can now click on the selected Site's name to access it and create a Building within.
Create a new Building
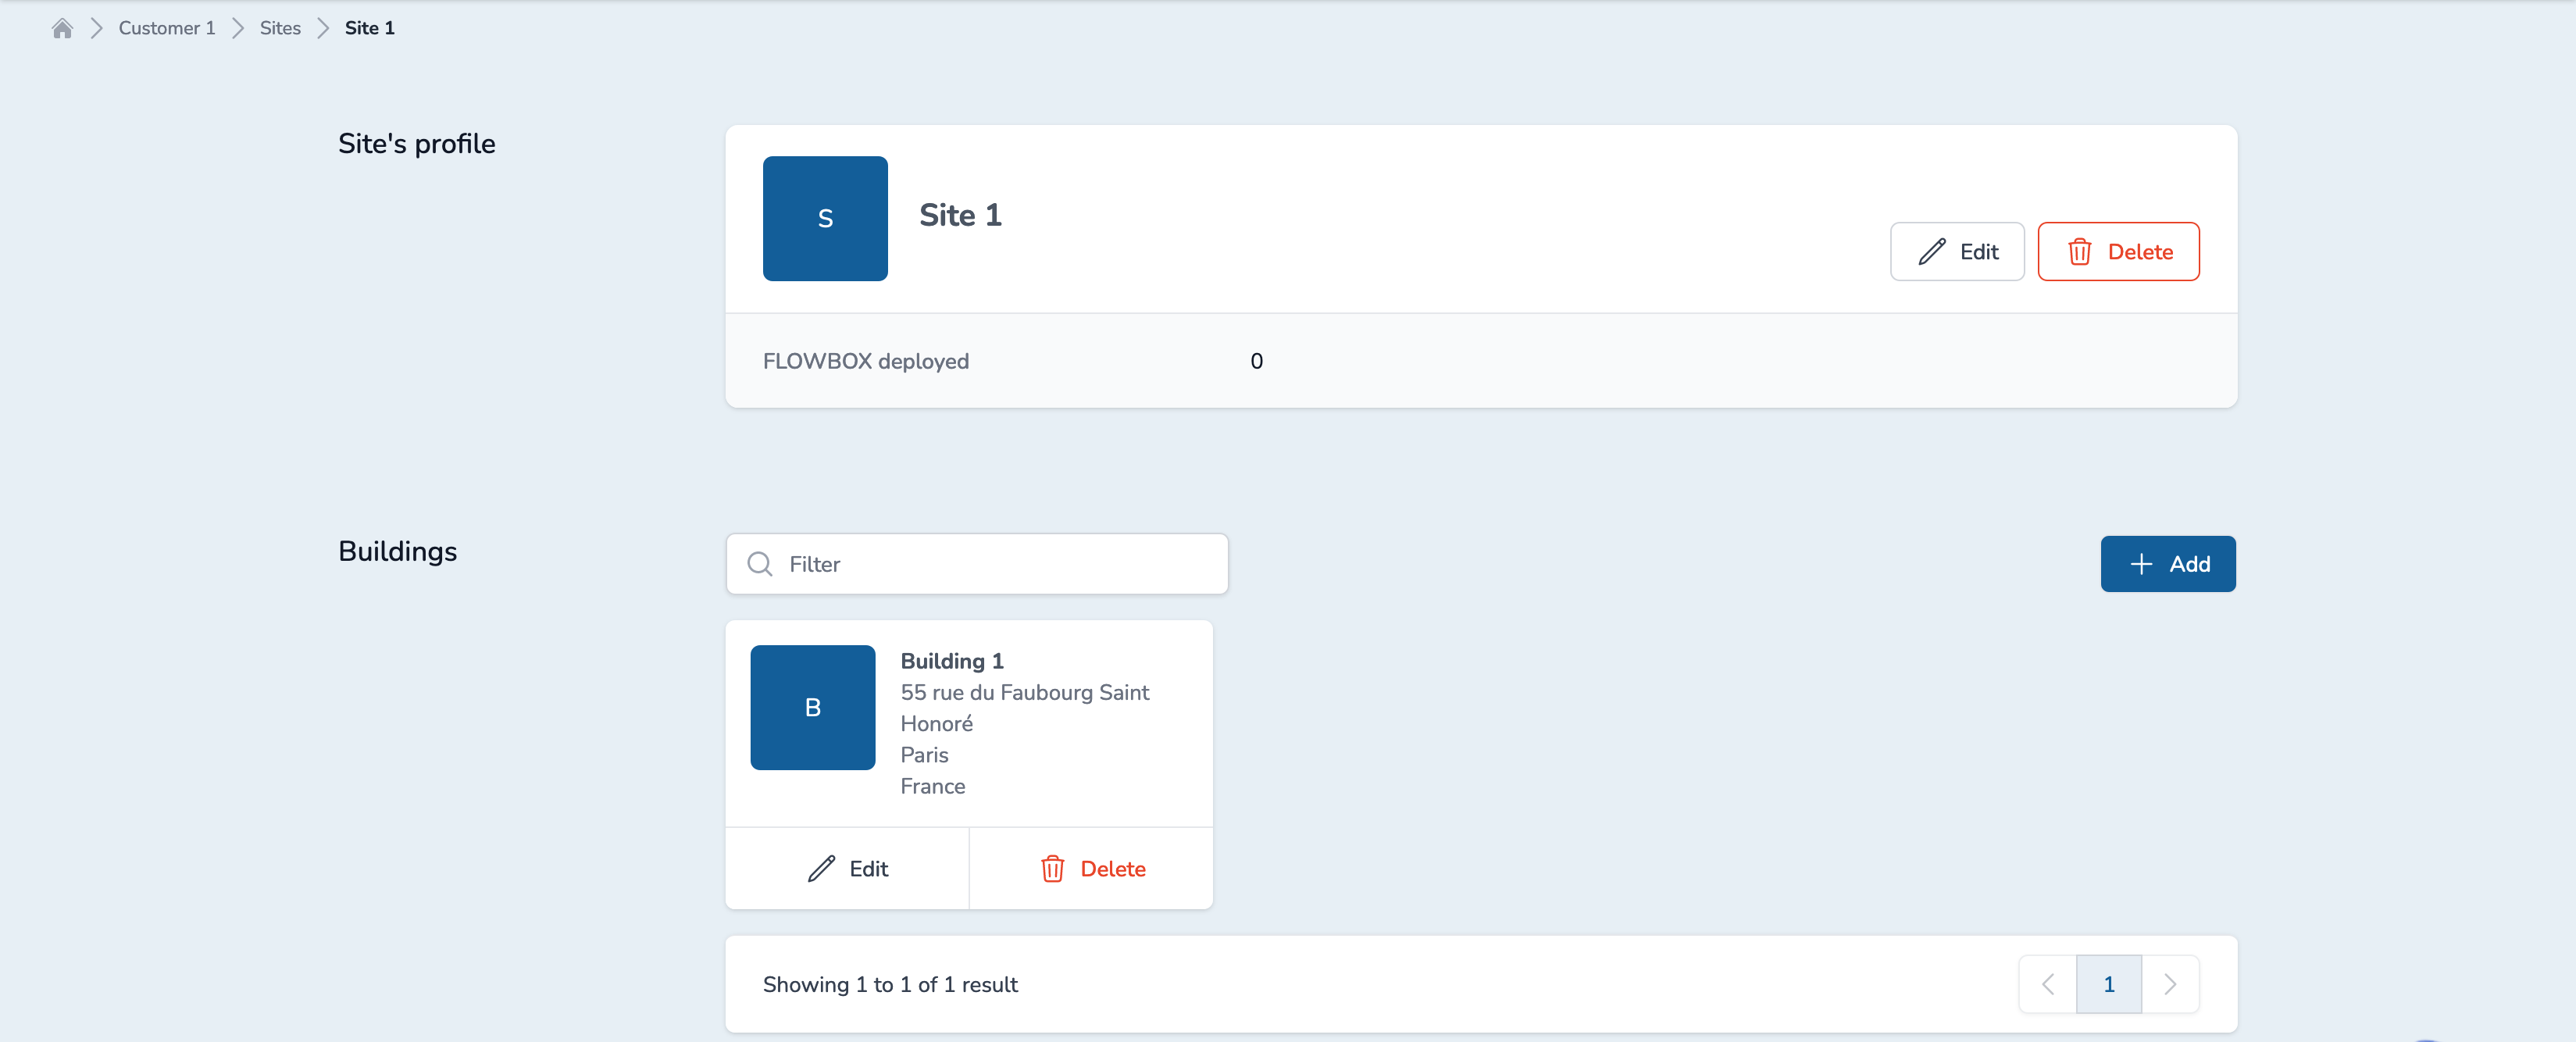
From the Dashboard page, reach the Site's page by clicking on the Site's name in the Zone list widget
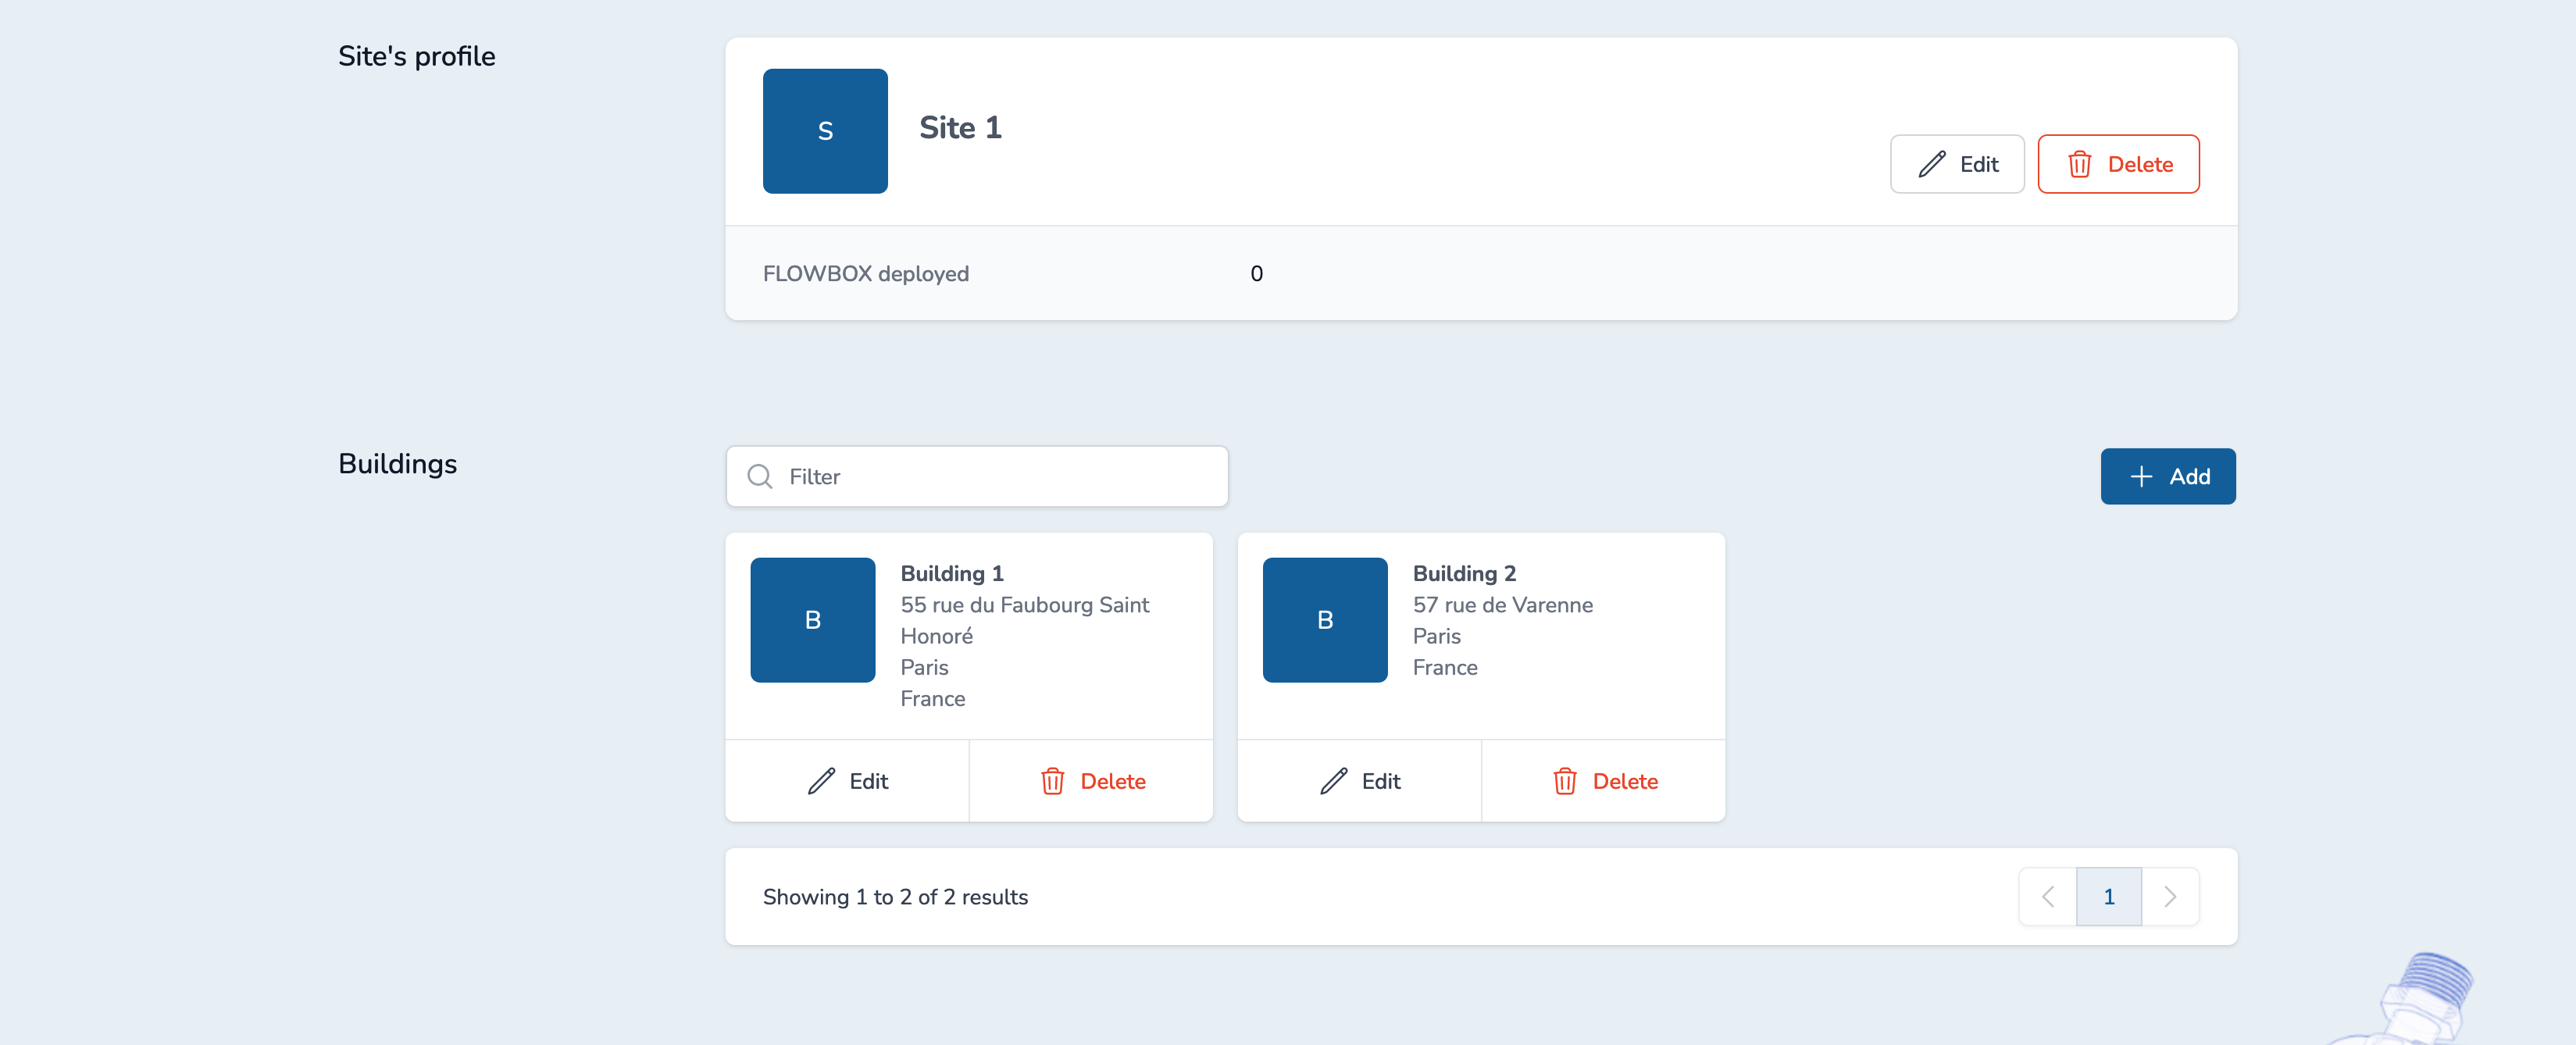
Depending on your context, you may or may not have existing buildings listed. Click on "Add" to add a new Building:
Fill the form and click on "Add" to create it.
You can see your new Building:
You can now click on the selected Building's name to access it and create a Zone within.
Create a new Zone
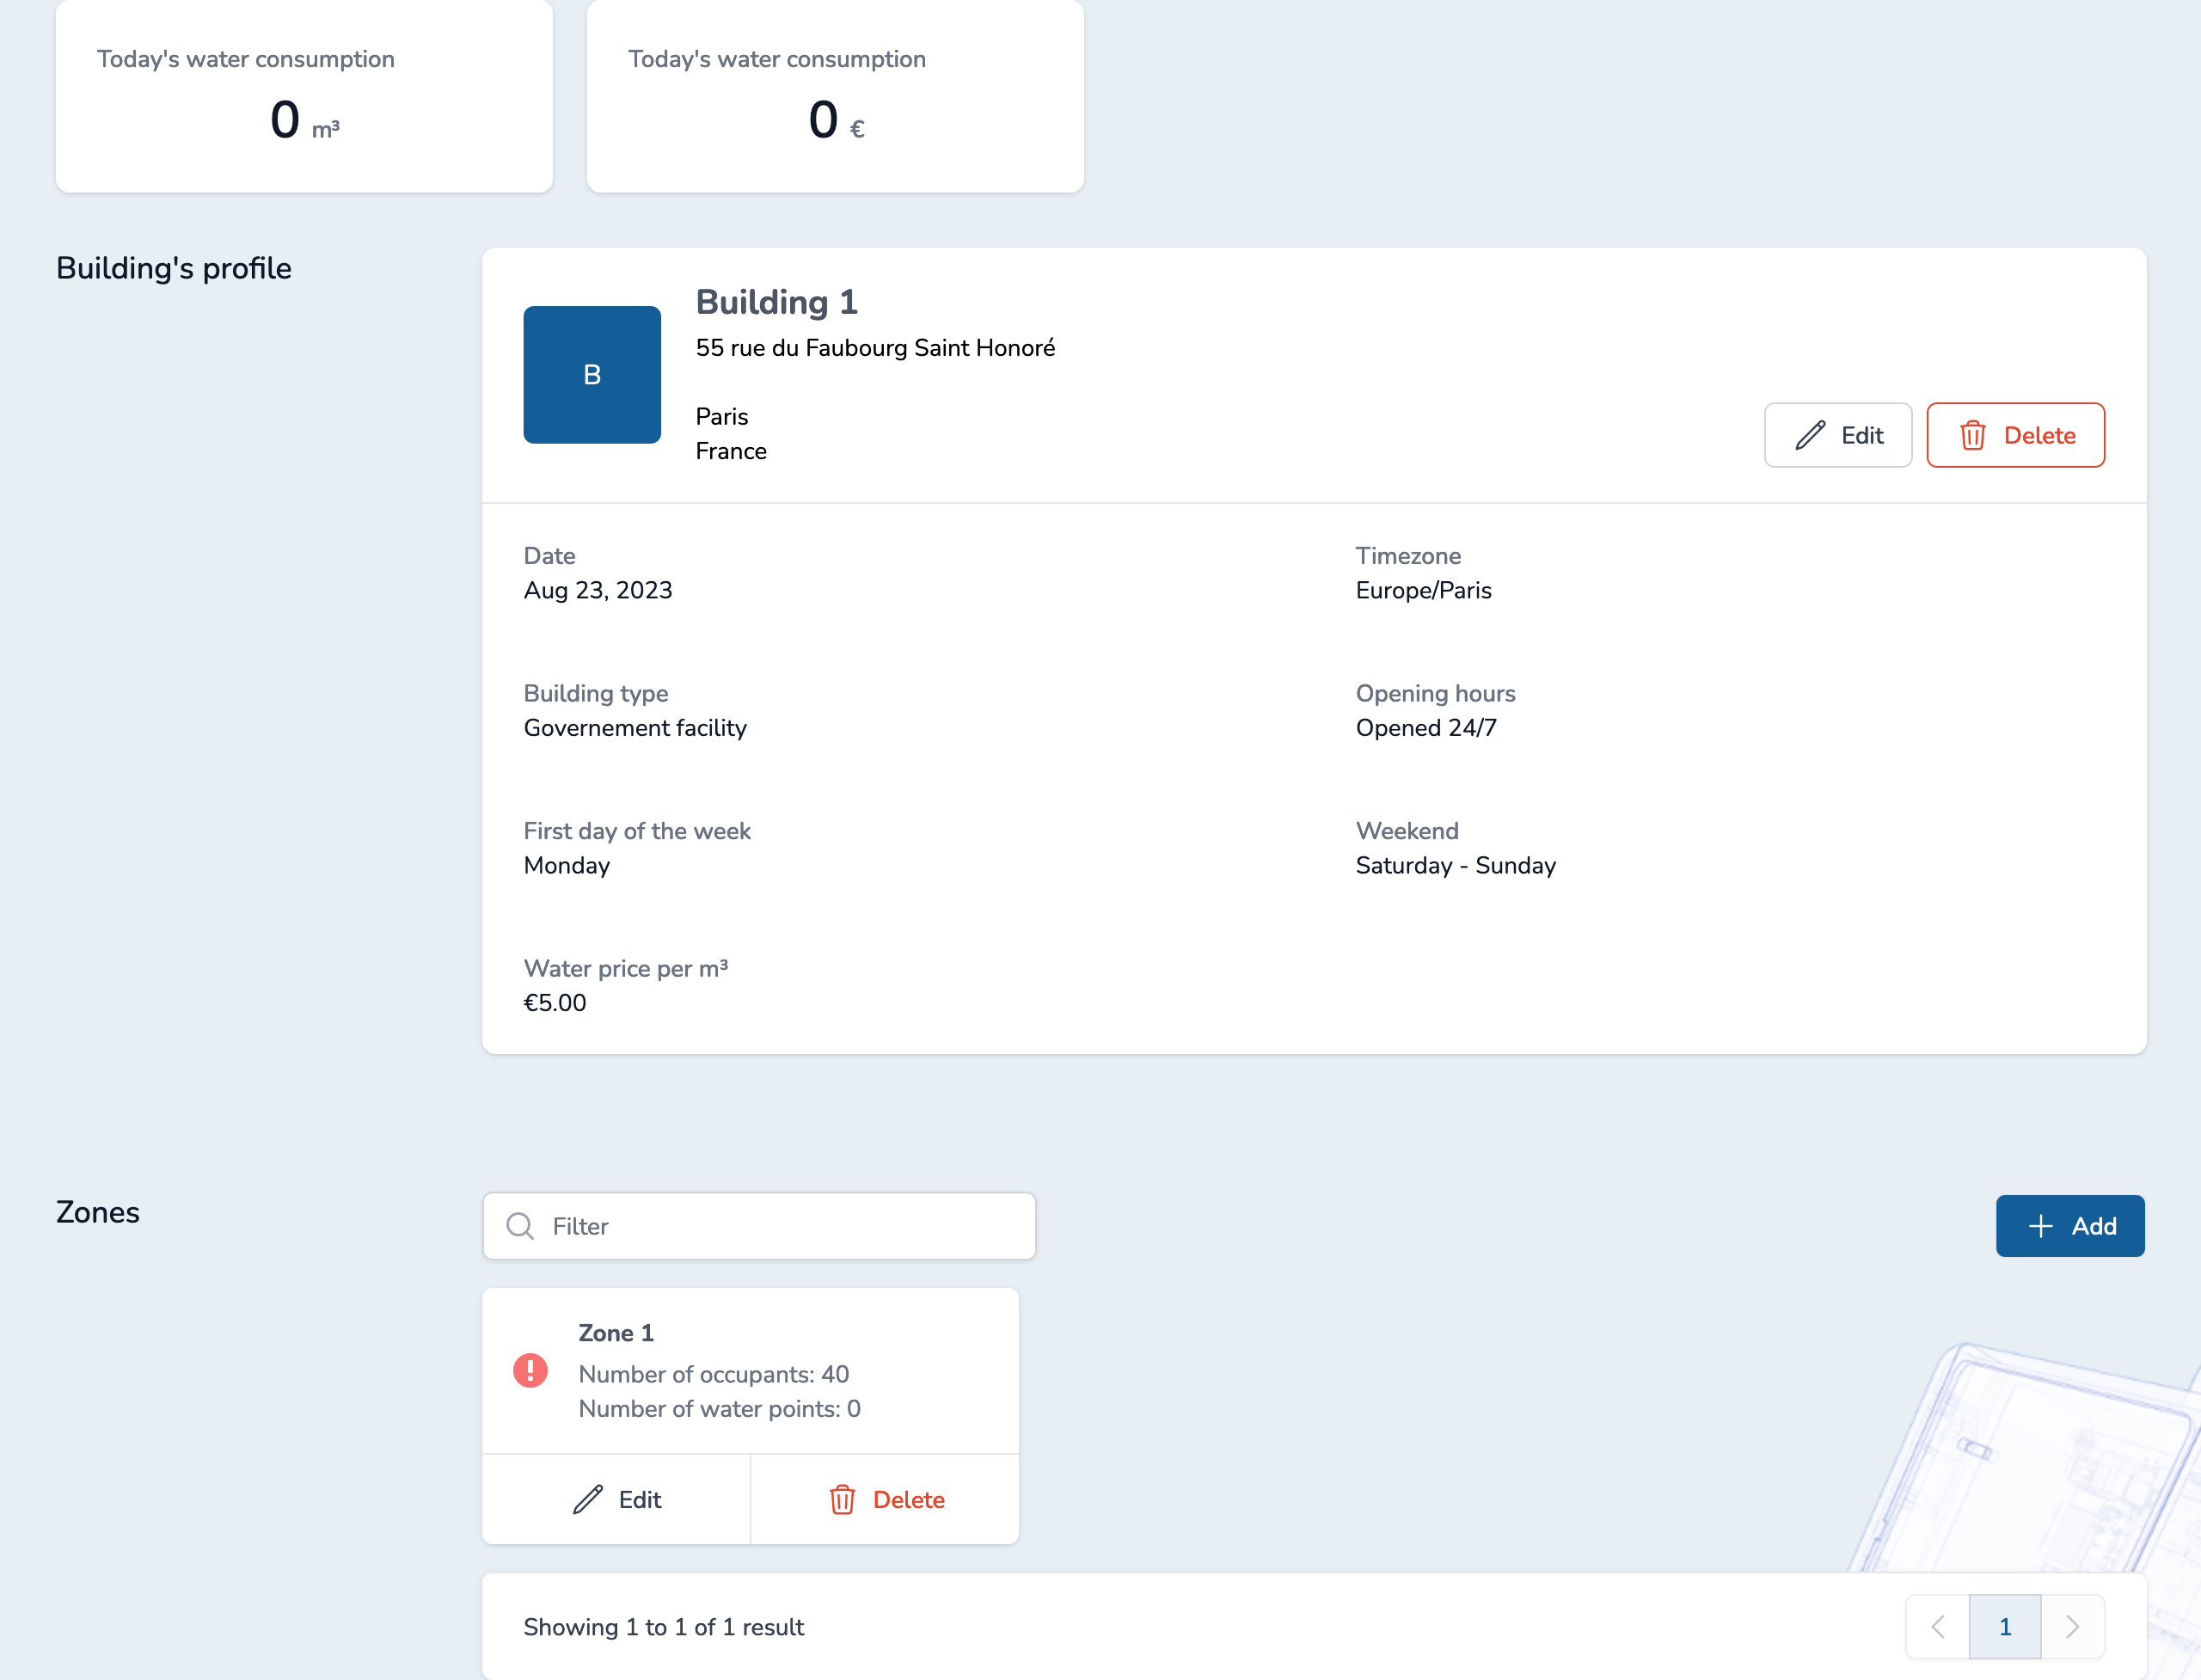
From the Dashboard page, reach the Building's page by clicking on the Building's name in the Zone list widget
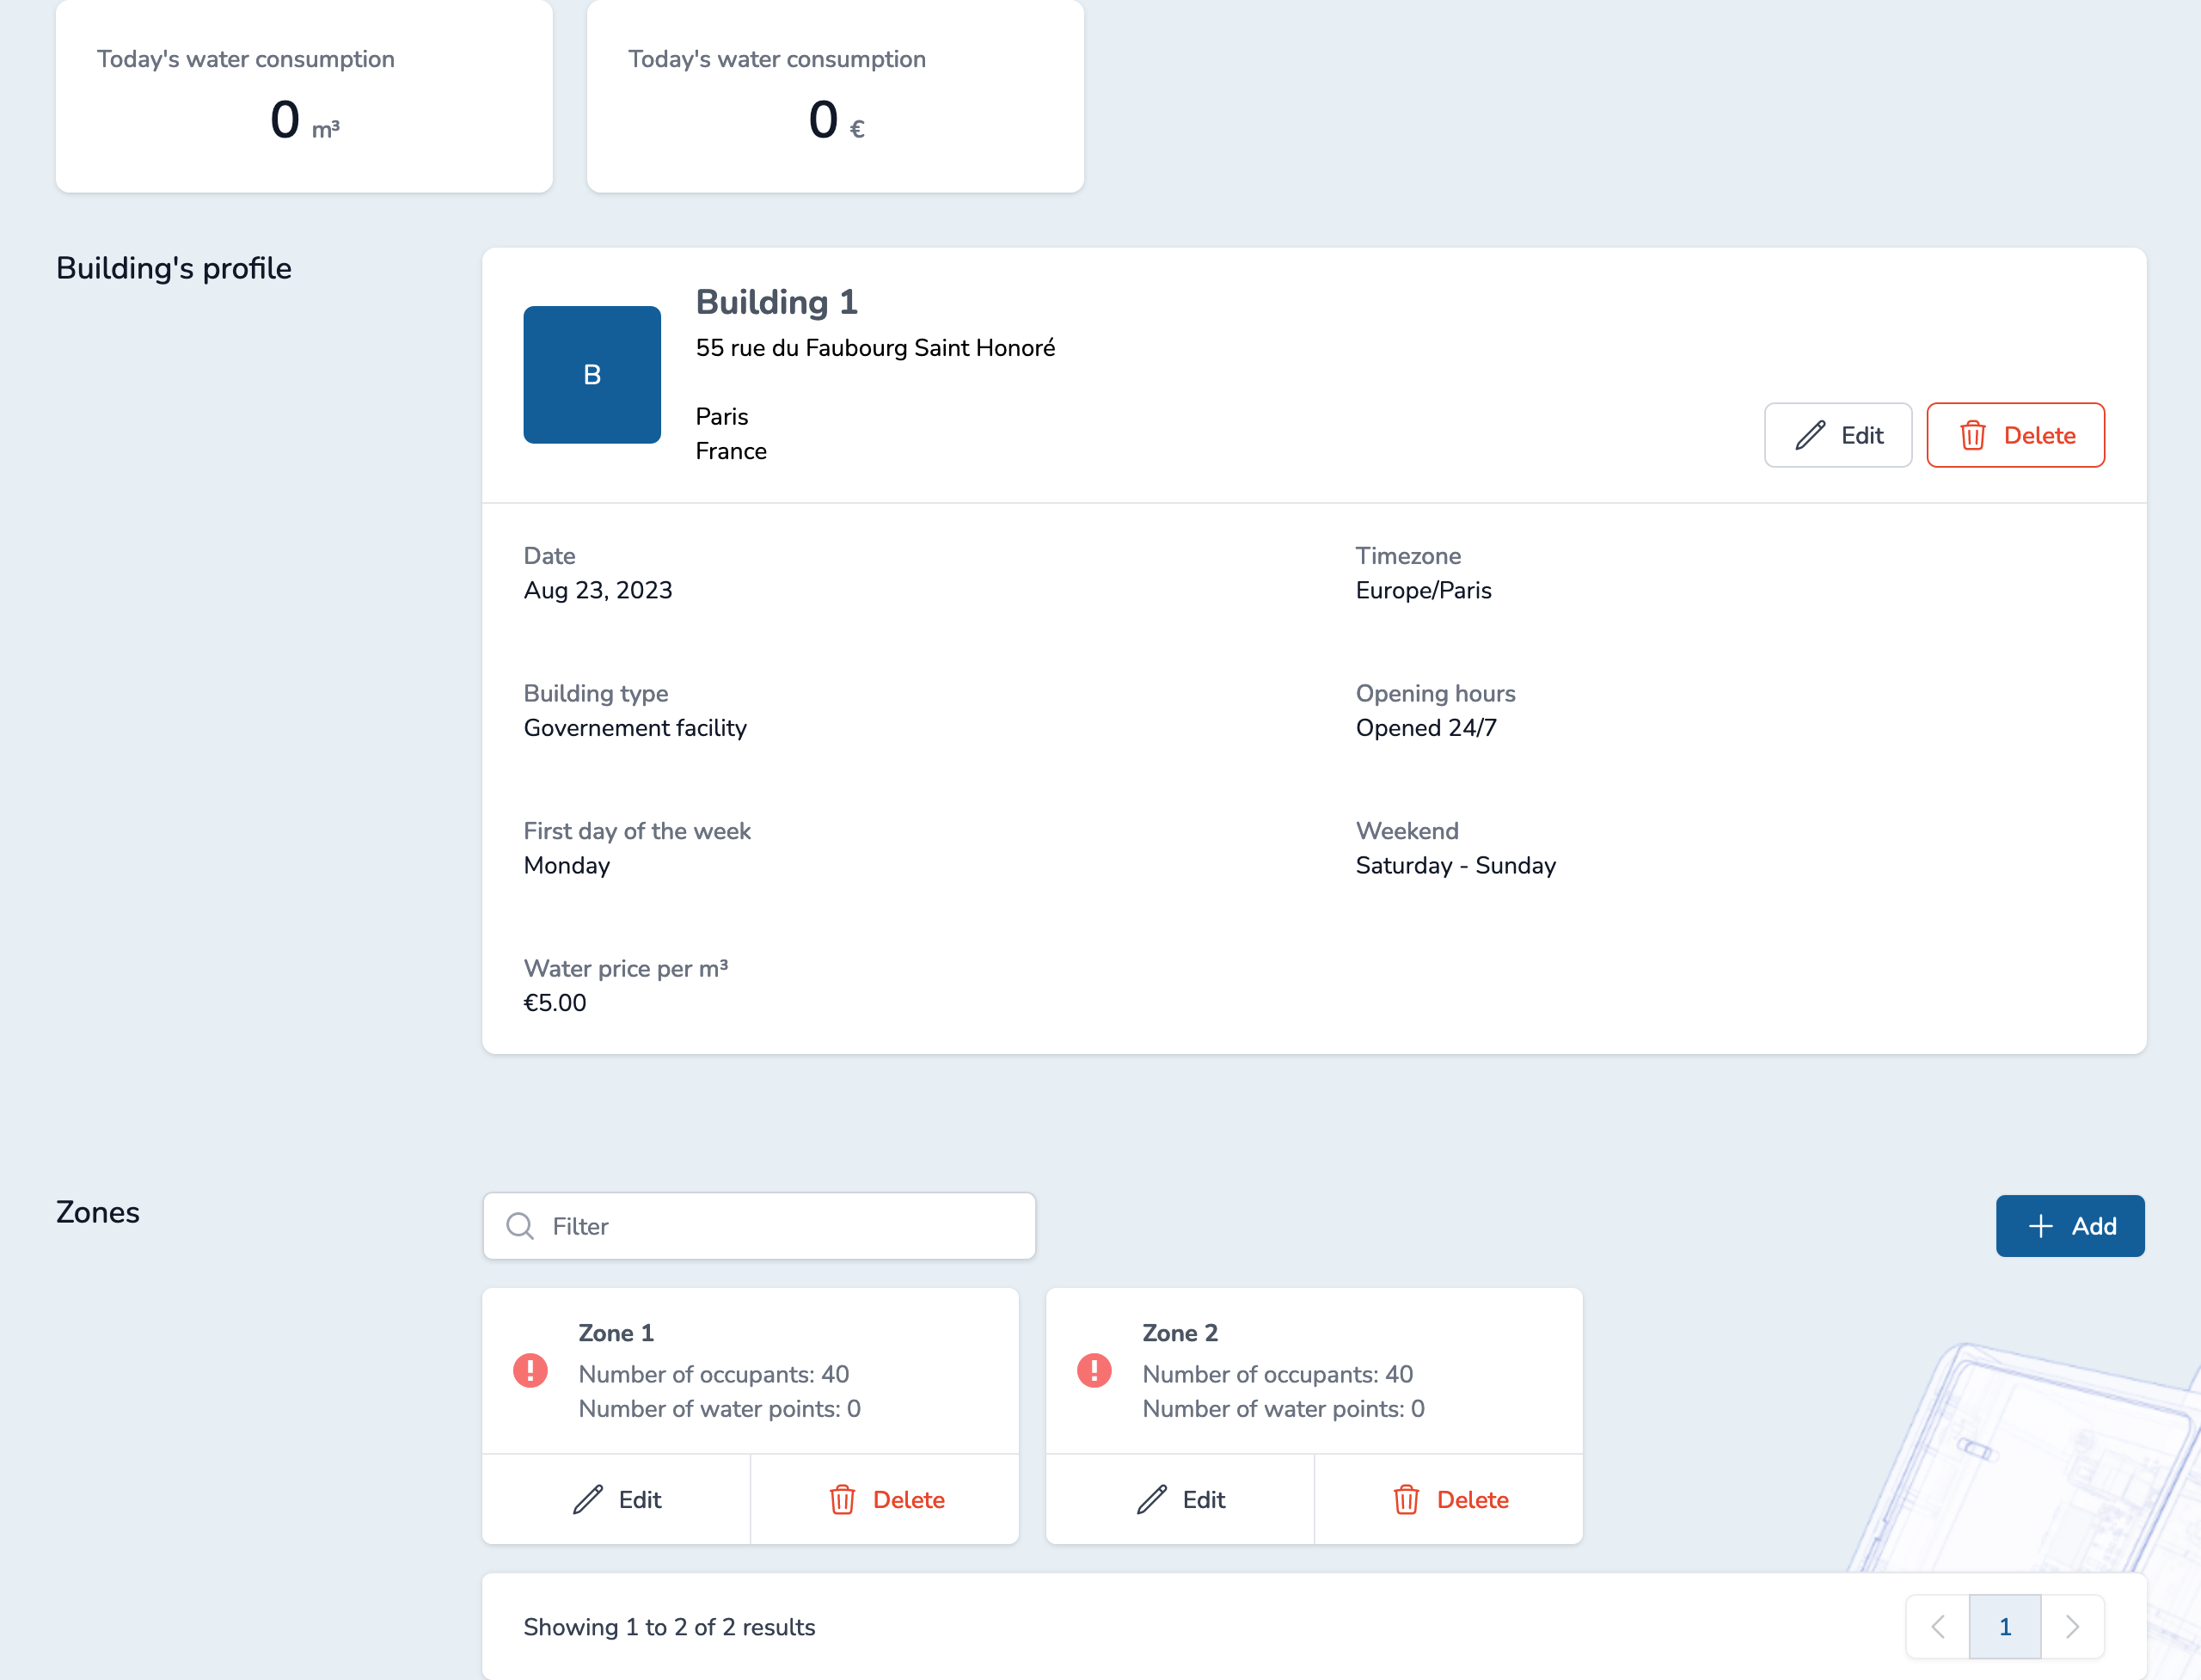
Depending on your context, you may or may not have existing Zones listed. Click on "Add" to add a new Zone:
Fill the form and click on "Add" to create it.

You can see your new Zone:
You can now click on the selected Zone's name to access it, choose your subscription and retrieve setup instructions.
Now it's time to power on your new FLOWBOX and configure it.